
Every american faces the challenge of making a new home feel truly clean before unpacking. Studies show that over 60 percent of renters and homeowners discover hidden grime or neglected spots during move in. The first cleaning steps in a new space can set the tone for comfort, health, and peace of mind. By understanding what supplies you need and how to target critical areas, you can ensure your american home feels both spotless and welcoming right from the start.
Table of Contents
- Step 1: Gather Essential Cleaning Supplies
- Step 2: Inspect and Prepare All Surfaces
- Step 3: Deep Clean Rooms Systematically
- Step 4: Sanitize High-Touch Areas and Fixtures
- Step 5: Verify Cleanliness and Address Missed Spots
Quick Summary
| Main Insight | Explanation |
|---|---|
| 1. Collect essential cleaning supplies first | Gather microfiber cloths, gloves, sponges, cleaners, and a vacuum before starting your cleaning process. Organizing them helps streamline your efforts. |
| 2. Inspect surfaces before cleaning | Conduct a walkthrough to identify areas needing special attention. Focus on high-touch spots like doorknobs and switches for a more hygienic space. |
| 3. Deep clean each room systematically | Tackle rooms one at a time, starting with the kitchen. Follow a consistent approach to ensure every area is thoroughly cleaned and sanitized. |
| 4. Sanitize high-touch areas | Use disinfectants on surfaces that are frequently touched to eliminate germs. Be thorough in kitchens and bathrooms for optimal hygiene. |
| 5. Conduct a final cleanliness check | After cleaning, perform a last inspection using proper lighting to catch missed spots, ensuring your new home is spotless from every angle. |
Step 1: Gather Essential Cleaning Supplies
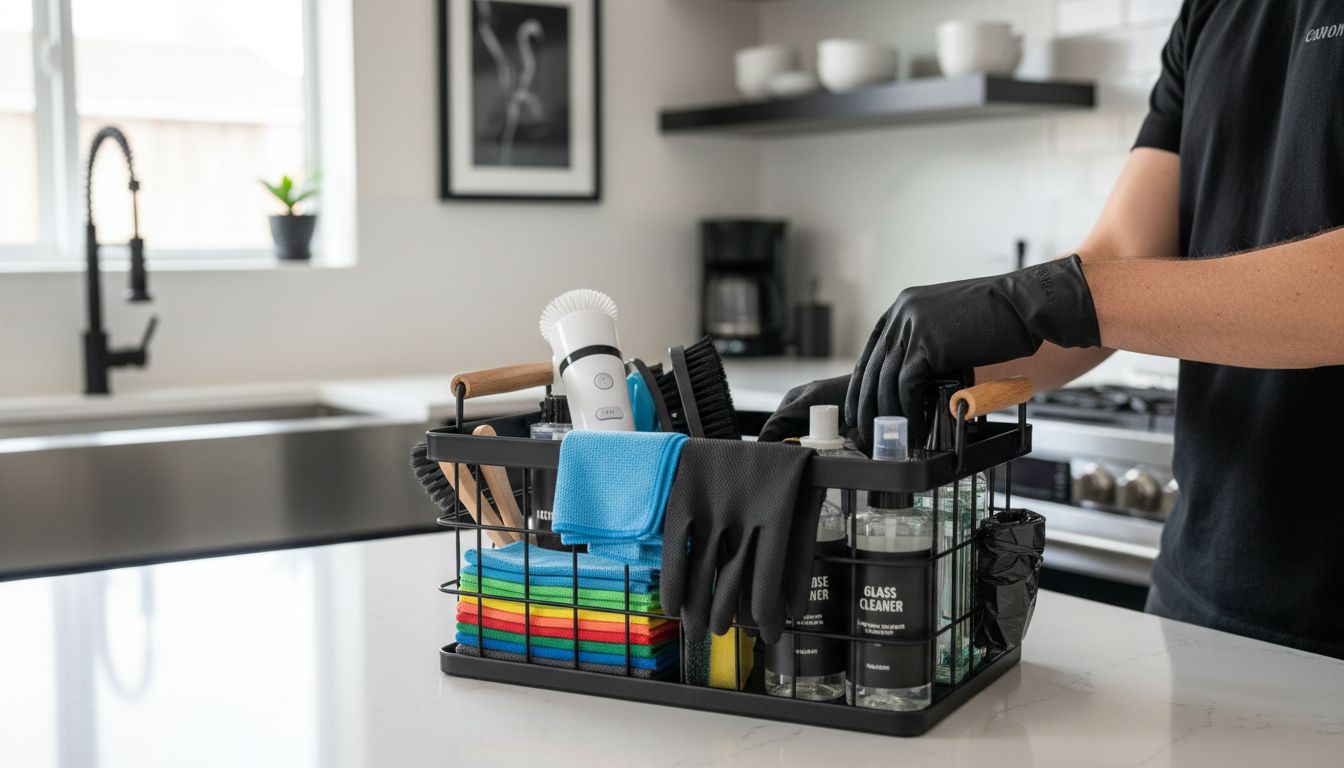
Before diving into move in cleaning, you need to collect all the right supplies to tackle every surface and corner of your new space efficiently. According to Bridging, a comprehensive cleaning kit should include several key items that will make your cleaning process smooth and thorough.
Your essential cleaning arsenal should include microfiber cloths, rubber gloves, multiple sponges, scrub brushes for hard surfaces and bathrooms, all purpose cleaner, glass cleaner, disinfectant spray, paper towels, a sturdy mop, vacuum cleaner, and trash bags. Pro tip from Move.org recommendation – consider investing in an electric spin scrubber to make tough cleaning tasks easier and faster. When selecting cleaning products, opt for versatile solutions that work across multiple surfaces to minimize the number of supplies you need to purchase.
As you gather your supplies, create a cleaning caddy or portable container to keep everything organized and easily accessible. How to Pack Cleaning Supplies for Moving can provide additional guidance on transporting and organizing your cleaning tools efficiently. Remember that having the right supplies ready before you start will save you time and frustration during the move in cleaning process.
Step 2: Inspect and Prepare All Surfaces
Before diving into a thorough cleaning, you need to carefully inspect and prepare all surfaces in your new living space. According to American Cleaning Institute, key areas like door handles, light switches, floors, and furniture require special attention to ensure a hygienic environment during move in.
Start by doing a comprehensive walkthrough of each room, making note of surfaces that need extra cleaning or repair. California State University Stanislaus recommends focusing on critical areas like bathrooms, kitchens, bedrooms, and living spaces. Check for dust accumulation, scuff marks, stains, and potential damage. Use different cleaning approaches for various surfaces wood, tile, granite, stainless steel and glass will each require specific cleaning techniques and products. Always test cleaning solutions on a small hidden area first to prevent potential damage.
As you prepare for a thorough cleaning, How to Prepare for a House Cleaner can provide additional insights into creating the most effective cleaning strategy. Pro tip create a detailed checklist of surfaces and their specific cleaning requirements to ensure you dont miss any spots during your move in cleaning process.
Step 3: Deep Clean Rooms Systematically
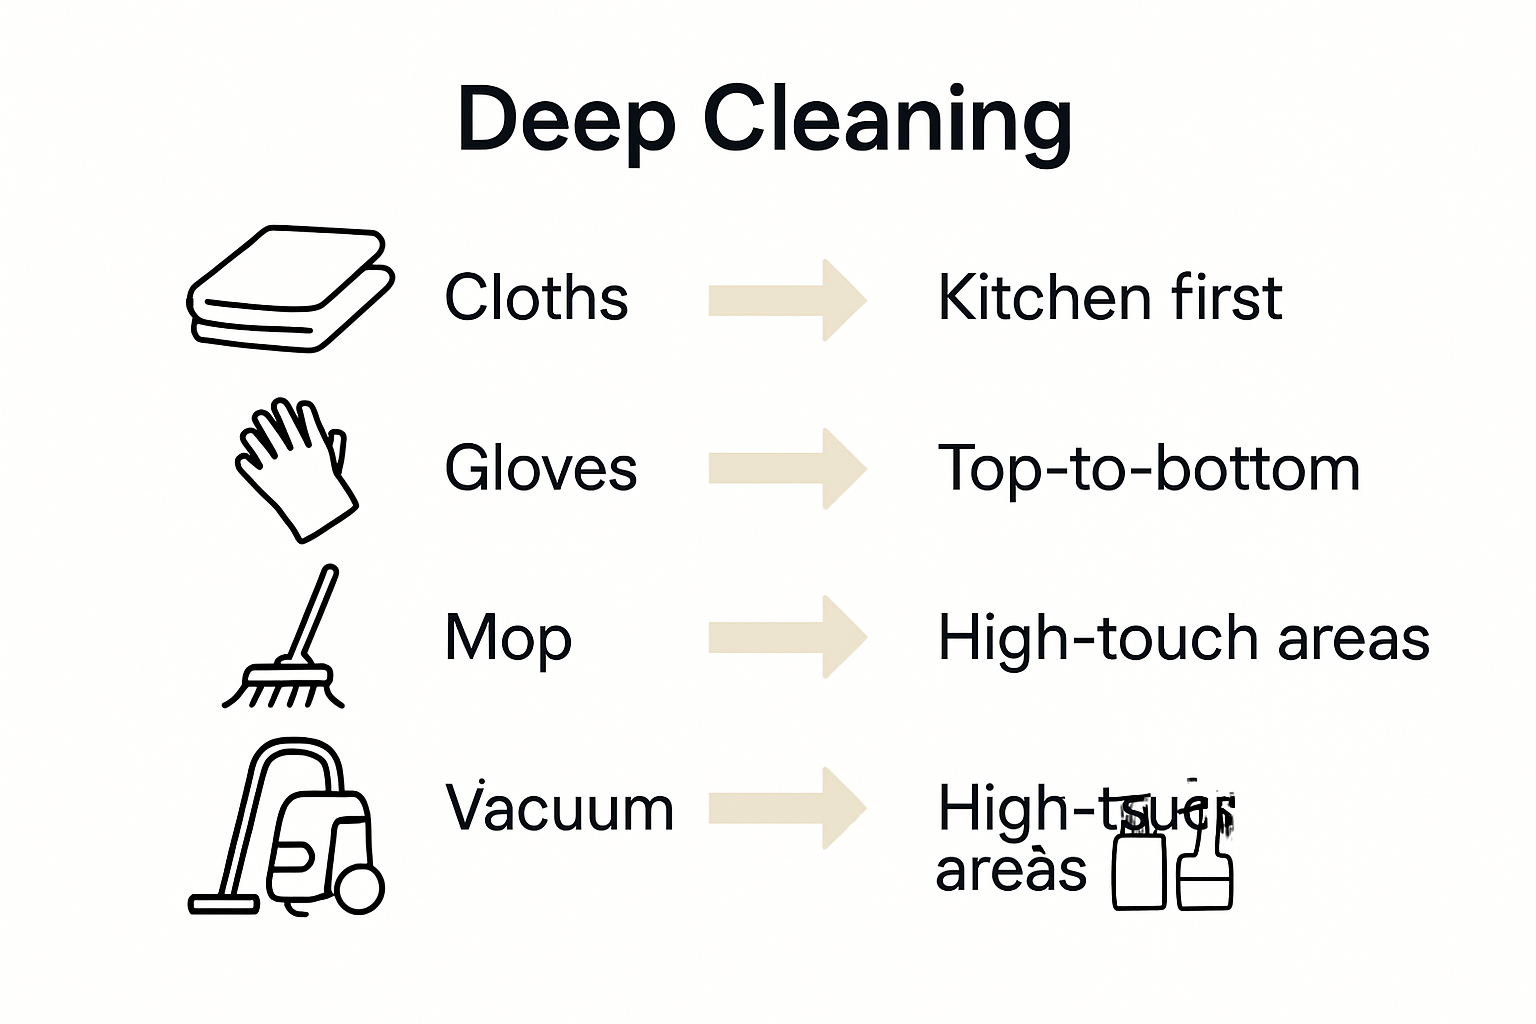
Successfully moving into a new space requires a methodical approach to deep cleaning each room thoroughly. According to Tidy Cleaning Solutions, a comprehensive move in cleaning strategy involves tackling specific tasks in each room to ensure complete sanitization and preparation.
Begin with the kitchen, which typically requires the most intensive cleaning. Focus on cleaning inside and outside of cabinets, thoroughly scrubbing appliances, sanitizing countertops, and deep cleaning floors and baseboards. Laurel’s Move Out House Cleaning Checklist recommends a systematic approach starting with high touch areas like handles, switches, and surfaces. Progress room by room kitchen, bathroom, bedrooms, living areas ensuring each space receives comprehensive attention. Use appropriate cleaning solutions for different surfaces and always work from top to bottom to prevent re-contaminating cleaned areas.
To streamline your cleaning process, What is Included in a Deep House Cleaning offers additional insights into creating an efficient cleaning workflow. Pro tip create a cleaning checklist for each room and cross off tasks as you complete them to maintain organization and ensure no area gets overlooked during your move in deep clean.
Step 4: Sanitize High-Touch Areas and Fixtures
Preparing your new living space requires meticulous attention to high-touch surfaces that harbor the most bacteria and germs. According to American Cleaning Institute, critical areas like door handles, light switches, and furniture surfaces demand thorough cleaning and disinfection to establish a truly hygienic environment.
Start by gathering disinfectant wipes, microfiber cloths, and an all purpose cleaner that can effectively kill germs on various surfaces. California State University Stanislaus recommends focusing on frequently touched areas in kitchens, bathrooms, bedrooms, and living spaces. Pay special attention to doorknobs, cabinet handles, faucet fixtures, toilet seats, light switches, remote controls, and countertops. Work systematically from one room to another, using different cloths for different areas to prevent cross contamination. When cleaning electronics or delicate surfaces, use specialized electronic cleaning wipes or slightly damp microfiber cloths to avoid moisture damage.
For more targeted cleaning techniques, How to Clean Bathroom Countertops can provide additional insights into specific surface care. Pro tip always allow disinfectant sprays and solutions to sit on surfaces for the recommended contact time usually between 30 seconds to 5 minutes to ensure maximum germ elimination and create a truly clean living environment.
Step 5: Verify Cleanliness and Address Missed Spots
After completing your initial cleaning, conducting a thorough final inspection is crucial to ensure no area has been overlooked. California State University Stanislaus recommends a comprehensive move in inspection that covers all living spaces including floors, bathrooms, kitchens, and bedrooms to maintain the highest standards of cleanliness.
Prepare for your final walkthrough by gathering good lighting sources like a bright flashlight or natural daylight, and consider wearing clean white gloves to easily spot dust and grime. Laurel’s Move Out House Cleaning Checklist suggests systematically examining each room from top to bottom. Check corners, baseboards, ceiling edges, behind appliances, inside cabinets, and other hard to reach areas that might have been missed during initial cleaning. Pay special attention to areas like window tracks, light fixtures, inside refrigerator shelves, and under furniture where dust and dirt tend to accumulate unnoticed.
To refine your cleaning approach, Expert Residential Deep Cleaning Services in Massachusetts can offer professional insights. Pro tip use a white microfiber cloth to wipe surfaces and instantly reveal any remaining dirt or grime your previous cleaning might have missed. If you find additional dirty spots, spot clean immediately to ensure your new space starts off completely fresh and spotless.
Make Your Move In Cleaning Hassle-Free With Professional Help
Moving into a new home can feel overwhelming especially when you face the challenge of deep cleaning every corner and surface before settling in. The article highlights common pain points like needing thorough sanitization of high-touch areas, organizing cleaning supplies, and ensuring a spotless environment free from hidden dust and grime. These tasks demand time energy and careful planning which many busy homeowners and renters simply do not have.
Why struggle alone when experienced cleaners can make your move in smooth and worry-free Explore our House Cleaning services designed to cover every aspect from deep cleaning kitchens and bathrooms to sanitizing fixtures with eco-friendly products.
Ready to start fresh in a perfectly clean space? Visit E.C. House Cleaning today for a free consultation or personalized quote. Our family-run team with over 20 years of expertise is committed to quality affordability and integrity throughout Massachusetts. We also offer tips on How to Pack Cleaning Supplies for Moving? to help you stay organized. Don’t wait until moving day rush yourself take control with professional support now.
Frequently Asked Questions
What cleaning supplies do I need for move-in cleaning?
To effectively clean your new home, gather microfiber cloths, rubber gloves, sponges, scrub brushes, all-purpose cleaner, glass cleaner, disinfectant spray, paper towels, a mop, vacuum cleaner, and trash bags. Organize these supplies in a portable cleaning caddy to streamline your process.
How should I prepare surfaces before cleaning?
Inspect all surfaces in your new space, including high-touch areas like doorknobs and light switches, and make a checklist of what needs special attention. This will ensure you don’t miss any critical spots during your cleaning.
What is the best order to clean rooms during a move-in?
Start with the kitchen, focusing on appliances, cabinets, and countertops, then move to the bathrooms, bedrooms, and living areas. Cleaning from top to bottom in each room helps avoid re-contaminating cleaned areas, making your process efficient.
How can I ensure high-touch areas are sanitized?
Use disinfectant wipes or sprays on areas like doorknobs, faucet handles, and light switches, ensuring you cover frequently touched spots. Follow the manufacturer’s instructions for contact time to maximize germ elimination.
What should I do after my initial cleaning?
Conduct a final inspection to verify cleanliness; check areas like corners, baseboards, and behind furniture for missed spots. Use a bright light source or white gloves to easily spot dust and grime, and spot clean any overlooked areas immediately.