Do your kitchen tiles no longer reflect your fond memories of joyful cooking and family time because of stubborn spills and grimy stains? We’ve been there. The journey of turning every splatter into delectable food can easily turn your kitchen tiles into a canvas of spills and stains.
Have you ever wondered how to clean kitchen tiles and bring back the shine that reflects the joy of cooking and family moments? At E.C House Cleaning, we understand the struggle of dealing with stubborn spills and grimy stains.
Although cleaning tiles might seem like a tiresome task we at E.C House Cleaning believe it is essential for maintaining not just the aesthetics of your kitchen, but also its hygiene.
Importance of Clean Kitchen Tiles
Kitchen tiles define the ambiance of the space where we prepare food, share meals, and bond with our family. However, these tiles can often become the victims of grease, sauce spills, and stubborn debris.
Just like any space where food is prepared and served, cleanliness is crucial, and tiles are no exception. Regular cleaning keeps your tiles looking fresh and extends their lifespan while maintaining a healthy cooking environment.
5 Easy Steps How to Clean Kitchen Tiles
- Regular maintenance – Keep your kitchen tiles clean by vacuuming regularly and cleaning spills promptly.
- DIY cleaning solutions – Use homemade natural cleaning solutions like vinegar and water, dish soap, or baking soda and vinegar to clean your tiles.
- Dealing with stubborn stains – For stubborn stains, consider using white vinegar or a baking soda paste.
- Cleaning grout – Maintain the grout between your tiles by using diluted bleach, distilled white vinegar, or specialist cleaners.
- Special considerations for different tiles – Understand the unique needs of natural stone tiles and use the right cleaning detergents to maintain them.
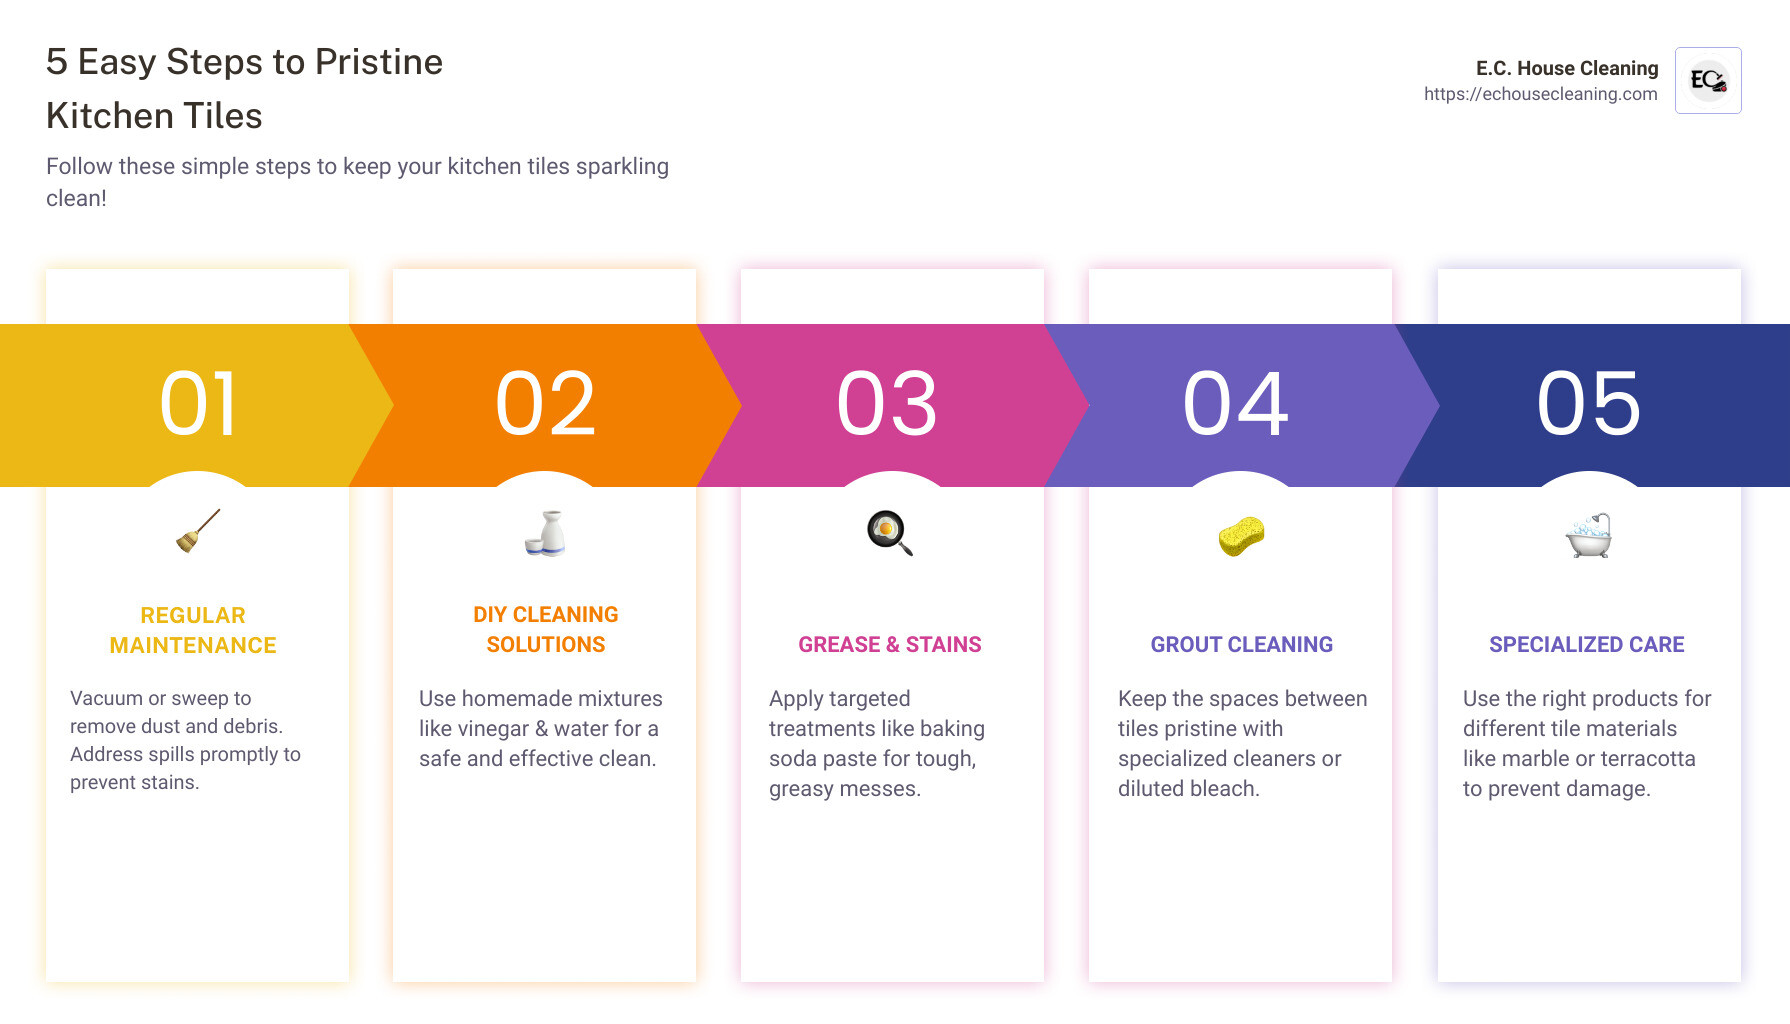
Stay with us as we reveal in detail these easy 5 steps to clean your kitchen tiles.
Table of Contents
In the end, you’ll be equipped with simple methods that will ensure sparkling clean tiles, ready for your next cooking endeavor. Let’s dive in to explore the best way to clean your kitchen floors!
Step 1: Regular Maintenance of Kitchen Tiles

Keeping your kitchen tiles clean doesn’t have to be a daunting task. In fact, the key to maintaining the gleaming look of your kitchen tiles lies in regular, simple maintenance. This includes routine vacuuming and prompt cleaning of spills.
Importance of Regular Vacuuming and Prompt Cleaning of Spills
Regular vacuuming helps to remove loose dirt and debris, preventing them from becoming embedded within the grout or scratching the surface of your tiles. The longer dirt sits on the surface, the harder it becomes to remove and deep clean.
Furthermore, spills are inevitable in the kitchen. However, prompt cleaning of these spills prevents them from staining the tiles or seeping into the grout lines. This is particularly important for tiles that are porous, like natural stone, which are more susceptible to stains.
How to Properly Vacuum Kitchen Tiles
- Remove larger pieces of debris by hand.
- Attach the soft brush to your vacuum cleaner.
- Vacuum the tiles, focusing on the areas close to the grout lines where dirt tends to accumulate.
- Don’t forget to reach corners and underneath kitchen cabinets.
Proper vacuuming of kitchen tiles involves using a soft brush attachment to prevent scratching the tiles.
How to Clean Kitchen Floor Tiles:
- For liquid spills, blot them up with a soft cloth or paper towel. Avoid rubbing as this can spread the spill.
- For thicker spills like sauce or food, carefully pick up any solids with a spoon or knife, then wipe the area clean with a damp cloth.
- For stubborn stains, a mixture of baking soda and water can be used. Apply the paste to the stain, let it sit for a few minutes, then scrub gently with a soft brush before rinsing with clean water.
When it comes to spills, time is of the essence. The sooner you clean them up, the less likely they are to stain your tiles or seep into the tile grout.
Step 2: DIY Cleaning Solutions for Kitchen Tiles
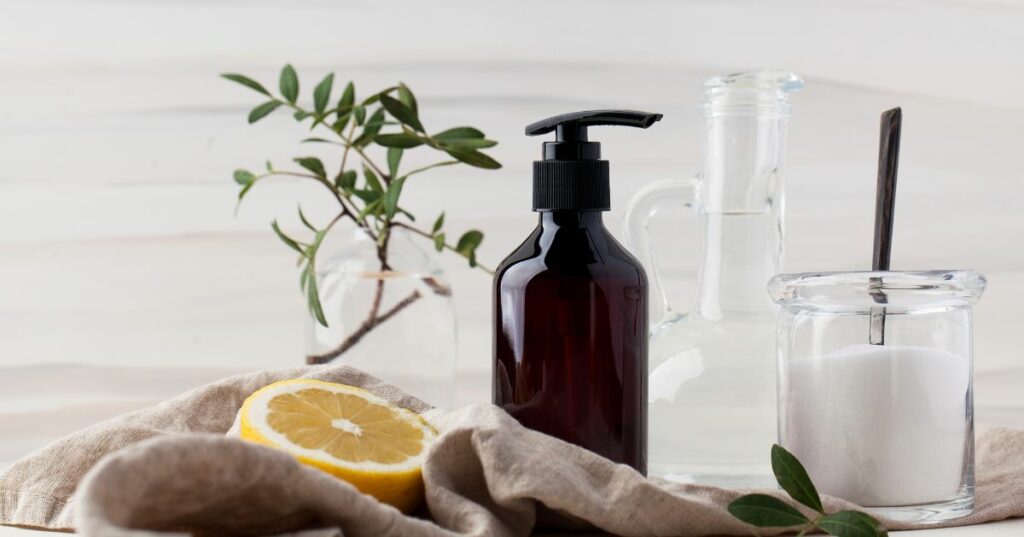
After you’ve properly maintained your kitchen tiles, it’s time to focus on deep cleaning with the use of DIY solutions. This step is crucial in ensuring your tiles are not only clean but also sanitized.
How to Make and Use a Vinegar and Water Solution for Ceramic and Porcelain Tiles
For porcelain and ceramic tiles, a simple, natural solution of white vinegar and water can be highly effective. We recommend mixing one part white vinegar with one part water.
However, it’s important to note that this solution should not be used on sensitive surfaces like marble or certain types of metal due to its acidity.
To use this solution, simply spray it onto the tiles, let it sit for a few minutes to break down any grime, and then wipe it off with a clean cloth. Always remember to rinse with warm water afterwards to remove any residual vinegar.
How to Make and Use a Dish Soap and Warm Water Solution for Most Types of Tiles
For most tile types, including slate, limestone, and travertine, a solution of warm water and dish soap is sufficient. Simply mix a few drops of dish soap into a bucket of warm water.
To clean the tiles, use a soft sponge or microfiber cloth to apply the solution, scrubbing gently. Rinse thoroughly afterwards with warm water to ensure no soap residue is left on the tiles.
How to Make and Use a Baking Soda and Vinegar Solution for Kitchen Wall Tiles
Kitchen wall tiles can often accumulate stubborn grime and stains. That’s where baking soda and vinegar come into play. These two natural ingredients create a powerful cleaning paste that can effectively scrub away tough stains.
To make this solution, sprinkle baking soda on a damp sponge and apply it to the kitchen wall tiles. Then, spray vinegar onto the tiles and let the mixture sit for about 10 minutes.
After 10 minutes, scrub the tiles with the sponge and rinse with warm water.
Baking soda can be abrasive, so it’s important to test this solution on a small, inconspicuous area of your tiles first.
Step 3: Dealing with Grease and Stubborn Stains on Kitchen Tiles
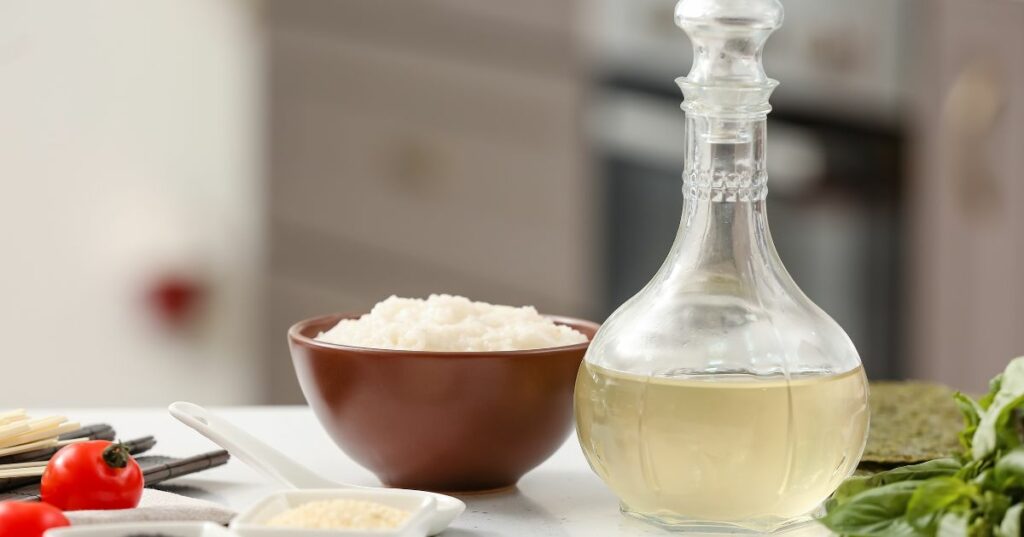
No matter how careful you are, greasy splatters and stubborn stains can and will happen in a kitchen. Here’s how to tackle those challenges.
One of the simplest yet effective solutions for greasy kitchen tiles is white vinegar. It cuts through the grease and leaves your tiles looking shiny and new. Important note, don’t apply vinegar on marble, granite, or natural stone tiles as it can leave dull, white marks.
How to Use White Vinegar to Clean Greasy Kitchen Tiles
- Fill an empty spray bottle with white vinegar.
- Spray the vinegar onto the greasy tiles.
- Let it sit for about 10 minutes to dissolve the grease.
- Wipe the surface clean with warm water and a cloth.
Another powerful weapon in your cleaning arsenal can be found right in your kitchen cupboard – baking soda, since it is a versatile cleaning agent that can help neutralize acidic substances and eliminate odors to help create a huge difference in your kitchen tiles.
How to Use Baking Soda Paste to Remove Grease from Kitchen Tiles
- Make a paste by adding a little water to a few tablespoons of baking soda.
- Smear the paste onto the greasy spots or stubborn stains on your tiles.
- Let it sit for about 20 minutes to loosen the stain.
- Rinse with warm water and wipe it off.
Always remember to test on a small, inconspicuous area first to make sure it won’t damage the material.
Step 4: Cleaning Grout Between Kitchen Tiles
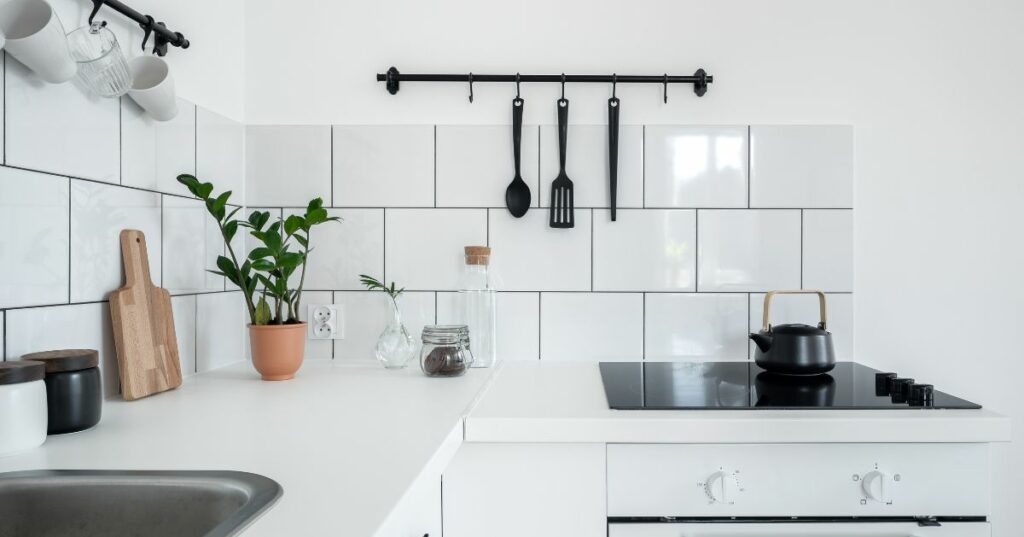
One step in the process of how to clean kitchen tiles that’s easy to overlook, but absolutely vital, is cleaning the grout.
Importance of Grout Cleaning in Kitchen Tile Maintenance
Cleaning the grout is as important as cleaning the tiles themselves. Grout, being porous, can absorb spillages, dirt, and debris, leading to unsightly discoloration. This can negatively impact the overall look of your clean kitchen tiles and make your kitchen appear less clean than it really is.
How to Clean White Grout with Diluted Bleach
Let’s start with white grout. Our expert at E.C. House Cleaning, Eliana Coca, recommends using diluted bleach. Simply scrub the bleach solution into the grout using an old toothbrush. It may take some time, but the results are worth it. Remember to rinse thoroughly with water afterwards to remove all traces of bleach.
How to Clean Colored Grout with Distilled White Vinegar or Whitening Toothpaste
As for colored grout, bleach may cause discoloration. Instead, try using distilled white vinegar or whitening toothpaste. Apply the vinegar or toothpaste to the grout and scrub in the same manner. Always remember to rinse off any natural cleaning solution thoroughly to prevent residue build-up.
Step 5: Special Considerations for Different Types of Kitchen Tiles
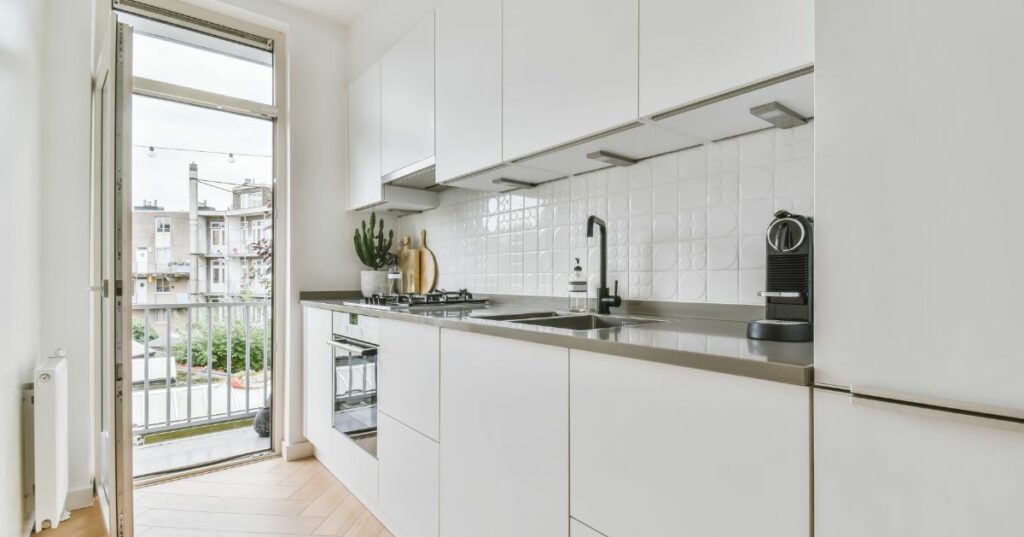
When it comes to kitchen tiles, one size doesn’t fit all. Different tile materials require different care and cleaning methods. This is especially true for natural stone tiles, such as marble, granite, and terracotta.
Why Natural Stone Tiles Require Specialized Cleaning Detergents
Natural stone tiles are unique and beautiful, but they also need special care. These type of tiles are porous, meaning they can absorb liquids and stains more easily than other types of tiles. Therefore, using harsh or acidic cleaning solutions can damage these tiles.
It’s crucial not to use abrasive cleaners, scourers, metal pan scrubbers, or steam cleaners on natural stone tiles. These can end up causing more harm than good.
Here are some specific tips for cleaning and maintaining different types of natural stone tiles:
Tips for Cleaning and Maintaining Marble, Granite, and Terracotta Tiles
- Marble Tiles: Avoid using vinegar, lemon juice, or other acidic substances on marble tiles as they can etch the surface. Instead, use a mild, stone-safe cleaner.
- Granite Tiles: Like marble, granite is sensitive to acidic substances. Stick to pH-neutral cleaners. Also, consider applying a sealant to granite tiles periodically to protect them from stains and damage.
- Terracotta Tiles: These tiles are highly porous and can absorb liquids quickly. It’s best to seal terracotta tiles after installation and regularly afterwards. For cleaning, use a mild detergent and avoid soaking the tiles.
Understanding how to clean kitchen tiles, especially those made of natural stone, can help keep your kitchen looking its best.
Final Thoughts on the Importance of Regular Cleaning and Maintenance of Tile Floors
We’ve walked you through the 5 easy steps on how to clean kitchen tiles. From regular maintenance, DIY cleaning solutions, dealing with stubborn stains, cleaning grout, to understanding the special considerations for different types of kitchen tiles.
We hope that this guide adds value to your cleaning routine and helps your kitchen shine.
Contact us today at E.C. House Cleaning, we understand that cleaning kitchen tiles can be a daunting task, especially for busy professionals and families. That’s why we’re here to help.
So, whether you need help with regular maintenance or tackling stubborn stains, we’ve got you covered. Learn more about our deep cleaning services. And for more cleaning tips and tricks, check out the E.C. House Cleaning’s Blog.
Our Content
All content is written by E.C. House Cleaning’s professional cleaning company. We put our expertise in house cleaning services into each piece of content, focusing on providing valuable, accurate, and relevant information. With over 20 years of deep, full cleaning service industry experience in the Massachusetts and Boston area with a proven track record of eco-friendly and pet-friendly cleaning in Massachusetts, deep cleaning, tile cleaning products, oil stains, and trust for customers as signaled by our hundreds of 5 star reviews, E.C. House Cleaning is an authority on residential and commercial cleaning services.
