
Over half of American households struggle to keep their kitchens consistently clean despite their best efforts. For busy Massachusetts families and property managers, maintaining a sanitary kitchen means more than just wiping counters. It is about creating a safe space where loved ones and guests feel welcome. This guide delivers straightforward, time-saving solutions for everyday kitchen cleaning that fit a packed schedule and help preserve a healthy environment.
Table of Contents
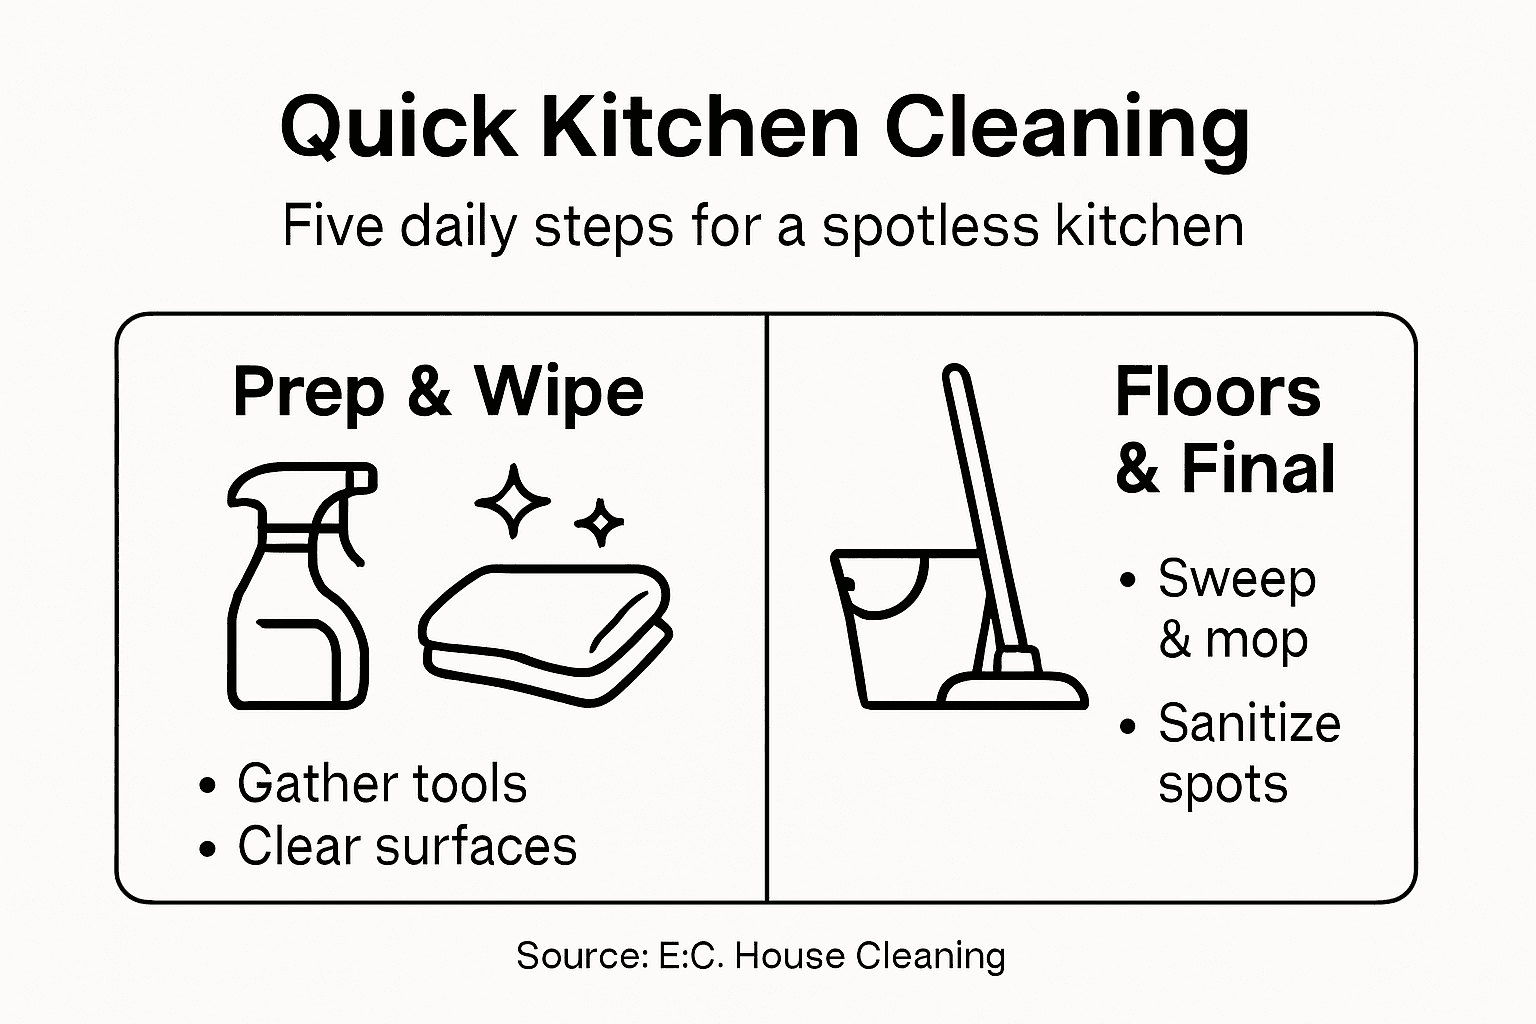
- Step 1: Gather Cleaning Supplies And Clear Surfaces
- Step 2: Wipe Down Countertops And Appliances
- Step 3: Sweep And Mop Floors For Freshness
- Step 4: Dispose Of Waste And Sanitize Touchpoints
- Step 5: Inspect Results To Ensure Kitchen Cleanliness
Quick Summary
| Key Message | Explanation |
|---|---|
| 1. Gather essential cleaning supplies | Collect microfiber cloths, cleaners, and trash bags in a central place to streamline cleaning tasks efficiently. |
| 2. Use appropriate cleaners for surfaces | Choose cleaners based on surface materials to avoid damage and ensure effective cleaning results. |
| 3. Sanitize high-touch areas thoroughly | Focus on handles, switches, and knobs with disinfectants to eliminate harmful bacteria effectively. |
| 4. Systematically clean floors | Sweep and mop floors using suitable products to ensure all dirt and grime are removed, enhancing safety. |
| 5. Conduct a visual inspection post-cleaning | Check all surfaces and areas for cleanliness to confirm that your kitchen has been thoroughly cleaned. |
Step 1: Gather cleaning supplies and clear surfaces
Successfully cleaning your kitchen starts with smart preparation. This step sets the foundation for an efficient and thorough cleaning process by organizing your tools and creating a clear workspace. By strategically gathering your supplies and prepping surfaces, you will streamline your entire kitchen cleaning routine.
Begin by collecting all necessary cleaning materials in one convenient location. Your core kit should include microfiber cloths, an all-purpose cleaner, disinfectant spray, paper towels, trash bags, and rubber gloves. Choose cleaners that are effective for kitchen surfaces, ensuring compatibility with different materials like granite, stainless steel, and laminate. Next, clear all countertops completely. Remove dishes, small appliances, and any loose items to create an unobstructed workspace. This allows you to clean every inch of surface area thoroughly and prevents accidentally knocking items over during cleaning.
Prioritize safety by working in a well-ventilated area and reading cleaning product labels carefully. Wear protective gloves and ensure proper handling of cleaning chemicals. Position your gathered supplies within easy reach, creating an organized workflow that minimizes unnecessary movement and maximizes efficiency.
Pro tip: Store your cleaning supplies in a portable caddy or cleaning bucket to make transportation between rooms quick and seamless.
Here’s a quick guide to choosing the best cleaner for different kitchen surfaces:
| Surface Type | Recommended Cleaner | Key Benefit |
|---|---|---|
| Granite Countertop | pH-neutral stone cleaner | Prevents staining |
| Stainless Steel | Specialized steel polish | Maintains shine |
| Laminate | Mild all-purpose cleaner | Avoids surface damage |
| Tile Floor | Tile-safe floor solution | Enhances durability |
| Wood Floor | pH-balanced wood cleaner | Preserves finish |
Step 2: Wipe down countertops and appliances
Removing dirt and grime from kitchen surfaces is crucial for maintaining a clean and hygienic cooking environment. This step focuses on systematically cleaning countertops and appliances to eliminate bacteria and create a sparkling workspace that looks and feels fresh.
Start by selecting an appropriate cleaning solution that matches your surface material. For most countertops, an all purpose cleaner works well, but always test in a small area first. Cleaning and sanitizing food contact surfaces requires a two step process: first removing physical dirt, then applying a sanitizing agent. Begin with a microfiber cloth to wipe down surfaces thoroughly, paying special attention to areas around stove burners, sink edges, and handles where grime tends to accumulate. Use separate cloths for different surfaces to prevent cross contamination.
Move systematically across your kitchen appliances like the refrigerator, microwave, oven, and dishwasher. Clean exterior surfaces using appropriate cleaners, wiping in a consistent direction to avoid streaking. For stainless steel surfaces, use specialized cleaners that prevent fingerprint marks and maintain shine. Always work from top to bottom to ensure any dropped debris falls onto uncleaned surfaces, which you will address in your final pass.
Pro tip: Keep a designated microfiber cloth for each type of surface to prevent spreading bacteria and achieve a more thorough clean.
Step 3: Sweep and mop floors for freshness
Ensuring your kitchen floor is spotless is the final frontier in creating a truly clean cooking space. This step transforms your kitchen from simply tidy to professionally pristine, eliminating dirt, grime, and potential health hazards lurking on your floor surfaces.
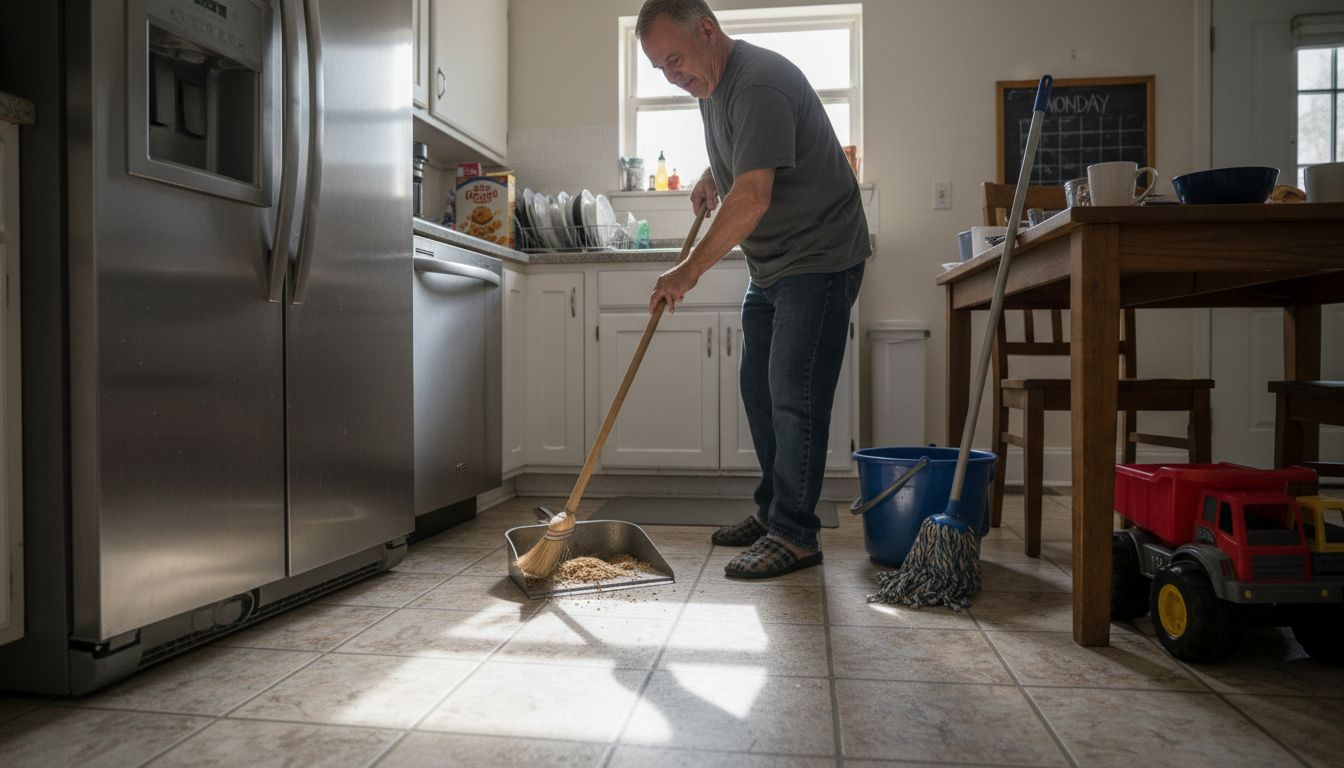
Keeping kitchen floors clean involves a systematic approach. Start by thoroughly sweeping the entire floor area, using a sturdy broom or microfiber dust mop to capture loose debris, crumbs, and dust. Pay special attention to corners, edges near appliances, and areas under cabinets where dirt tends to accumulate. Move furniture or mats as needed to ensure a comprehensive sweep, collecting all particles in a dustpan for disposal.
Next, prepare your mopping solution using a cleaner appropriate for your specific floor type. Whether you have tile, linoleum, hardwood, or vinyl, select a cleaning product that will effectively sanitize without causing damage. Use a clean mop with warm water and your chosen cleaning solution, working in sections and wringing out excess water to prevent standing liquid. Always mop in a systematic pattern from the farthest corner of the room towards the exit, ensuring you do not step on freshly cleaned areas. For tough stains, use a bit of extra pressure or a specialized scrub pad, but avoid abrasive materials that could scratch your floor surface.
Pro tip: Invest in a microfiber mop with replaceable cleaning pads to ensure maximum hygiene and prevent cross contamination between cleaning sessions.
Step 4: Dispose of waste and sanitize touchpoints
Cleaning your kitchen is not complete without properly managing waste and sanitizing high contact areas. This final stage eliminates harmful bacteria and ensures a truly hygienic environment that protects your family from potential health risks.
Cleaning and sanitizing food contact surfaces requires strategic attention to detail. Begin by emptying all trash containers, using liners and replacing them immediately after disposal. Clean the interior and exterior of trash bins with a disinfectant spray, paying special attention to handles and lid edges where germs frequently accumulate. Focus on critical touchpoints such as refrigerator handles, oven knobs, light switches, cabinet pulls, and faucet handles. Use a microfiber cloth with an EPA approved disinfectant to thoroughly wipe these surfaces, ensuring complete coverage and allowing sufficient contact time for effective sanitization.
Work systematically around your kitchen, starting from cleaner areas and moving towards potentially more contaminated zones. Ensure proper ventilation during the sanitizing process and wear protective gloves to prevent direct contact with cleaning chemicals. Allow surfaces to air dry naturally or use clean paper towels to prevent reintroducing bacteria. Double check that all waste is properly contained and sealed, reducing potential odors and pest attractions.
Pro tip: Keep a designated microfiber cloth and disinfectant spray in an easily accessible kitchen drawer for quick touchpoint cleaning between deep cleaning sessions.
Step 5: Inspect results to ensure kitchen cleanliness
The final stage of kitchen cleaning is a comprehensive visual assessment that transforms your cleaning effort from routine task to professional level maintenance. This critical step helps you identify any missed spots and validate the effectiveness of your cleaning process.
Kitchen sanitation requires thorough visual inspection of all surfaces and areas. Start by stepping back and scanning the entire kitchen with good lighting, checking countertops, appliance surfaces, floors, and hard to reach areas for any remaining dirt or streaks. Look closely at typically overlooked zones like the tops of cabinets, behind appliances, and around handles and edges. Use natural light or bright overhead lighting to help reveal any lingering grime or missed cleaning spots.
Conduct a systematic walk through, touching and examining surfaces to confirm they are truly clean. Check that all surfaces feel smooth and look uniform without residue or water spots. Verify that trash has been properly disposed, surfaces are dry, and everything is returned to its original position. Take a moment to appreciate your thorough cleaning and enjoy the fresh, sanitized environment you have created.
Pro tip: Keep a small microfiber cloth and quick detailing spray nearby for immediate touch ups of any spots you might have missed during your final inspection.
Compare the key tasks and focus points within each cleaning step:
| Step | Main Task | Focus Area |
|---|---|---|
| Gather & Prep | Collect supplies, clear surfaces | Organization |
| Wipe Down | Clean surfaces, detail appliances | Hygiene |
| Sweep & Mop | Sweep debris, mop floors | Floor sanitation |
| Dispose & Sanitize | Trash removal, sanitize touchpoints | Germ elimination |
| Inspect | Visual check, touch up | Completeness |
Keep Your Kitchen Spotless with Expert Help From E.C. House Cleaning
Maintaining a clean kitchen every day can feel overwhelming as dirt, grime, and germs build up quickly on surfaces, appliances, and floors. The article highlights challenges like thoroughly sanitizing touchpoints and ensuring every corner is spotless, which can be time-consuming and stressful for busy homeowners. If you want to easily achieve that vibrant, hygienic kitchen environment without the hassle, professional cleaning services are your solution. Whether you need specialized care for your stainless steel sink or expert cleaning for kitchen tiles, E.C. House Cleaning offers tailored services that handle these exact challenges for you.

Boost your kitchen’s cleanliness and health by trusting our experienced team who understands the importance of detailed wiping, sanitizing, and floor care described in the article. Explore our How to Clean a Stainless Steel Kitchen Sink? and How to Clean Kitchen Tiles? | E.C. House Cleaning pages for expert tips and professional service options. Make your daily kitchen cleaning effortless and enjoy peace of mind. Schedule a free consultation at https://echousecleaning.com today and let us transform your kitchen into the spotless, safe space you deserve.
Frequently Asked Questions
How can I quickly gather cleaning supplies for my daily kitchen cleaning?
Start by collecting items like microfiber cloths, an all-purpose cleaner, disinfectant spray, paper towels, trash bags, and rubber gloves. Organize them in a portable caddy to ensure everything is within reach and save time during your cleaning routine.
What is the best process to wipe down kitchen countertops and appliances?
Systematically clean your countertops and appliances using an appropriate cleaner for each surface. Start at the top and move down to avoid streaking, paying special attention to high-contact areas like handles and edges, ensuring a hygienic workspace.
How do I effectively sweep and mop my kitchen floor?
First, sweep the entire floor to remove loose debris, then mop with a cleaner suitable for your floor type. Work in sections, mopping from the farthest corner towards the exit to avoid stepping on cleaned areas, ensuring a spotless finish.
What should I do with kitchen waste during the cleaning process?
Empty all trash containers and clean them with disinfectant, paying special attention to handles and edges. Ensure you have a lined trash bin ready for quick disposal of waste while you clean, reducing odors and hygiene risks in your kitchen.
How can I ensure I’ve thoroughly cleaned my kitchen?
Conduct a visual inspection of all surfaces, looking for any missed spots or stains. Touch surfaces to confirm they feel clean and dry, and keep a microfiber cloth handy for quick touch-ups after your final check, ensuring a truly spotless kitchen.