
Most American households underestimate the time and effort it takes to achieve a truly deep clean. According to experts, over 80 percent of dirt and germs in the home linger on surfaces people often forget. Proper preparation not only saves hours but leads to a healthier environment for your family. This step by step guide brings together trusted techniques and pro tips to make your deep cleaning routine thorough and efficient from start to finish.
Table of Contents
- Step 1: Gather Essential Cleaning Supplies
- Step 2: Declutter Spaces for Maximum Access
- Step 3: Sanitize High-Touch Areas First
- Step 4: Deep Clean Floors and Carpets
- Step 5: Detail Clean Kitchen and Bathrooms
- Step 6: Verify Results with a Final Inspection
Quick Summary
| Key Insight | Explanation |
|---|---|
| 1. Gather Essential Cleaning Supplies | Collect all necessary cleaning tools like all-purpose cleaner, microfiber cloths, and disinfectants to ensure an efficient cleaning process. |
| 2. Declutter for Better Access | Systematically declutter spaces using the three box method to create clear pathways and make cleaning easier and more effective. |
| 3. Sanitize High-Touch Areas First | Prioritize disinfecting frequently contacted surfaces to minimize the risk of germs; use appropriate disinfectants for maximum effectiveness. |
| 4. Deep Clean Floors and Carpets | Focus on thorough cleaning of floors by vacuuming and using specialized cleaners to effectively remove dirt and allergens. |
| 5. Conduct a Final Inspection | Perform a walk-through to check for missed spots, ensuring all areas are cleaned to professional standards for a complete deep clean. |
Step 1: Gather Essential Cleaning Supplies
Preparing for a deep house cleaning starts with assembling the right tools and materials. You will want to collect a comprehensive set of cleaning supplies that will help you tackle every surface and space in your home efficiently.
Your cleaning kit should include several key items recommended by cleaning experts. Based on recommendations from the University of Utah, gather an arsenal of supplies like all-purpose cleaner, microfiber cloths, paper towels, sponges, scrub brushes, disinfectant wipes, glass cleaner, and stain remover. The CDC suggests using color-coded cleaning cloths to prevent cross-contamination between different areas of your home, which is an excellent professional strategy for maintaining hygiene.
Pro tip: Organize your cleaning supplies in a portable container or caddy so you can easily move from room to room without constantly backtracking for tools. This approach saves time and keeps your cleaning process streamlined. As you gather your supplies, check that everything is easily accessible and in good condition before you begin your deep cleaning adventure.
Step 2: Declutter Spaces for Maximum Access
Before diving into deep cleaning, you need to create clear pathways and accessible surfaces. Effective decluttering transforms your cleaning process from overwhelming to manageable by removing obstacles and unnecessary items that impede thorough cleaning.
According to recommendations from AARP, start by implementing a systematic decluttering approach. Sort items into strategic categories using the three box method: one for items to keep, another for donations, and a third for trash or recycling. This technique helps you make quick decisions about each item while preventing unnecessary accumulation. Habitat for Humanity recommends labeling these boxes clearly and working through one room at a time to maintain focus and prevent feeling overwhelmed.
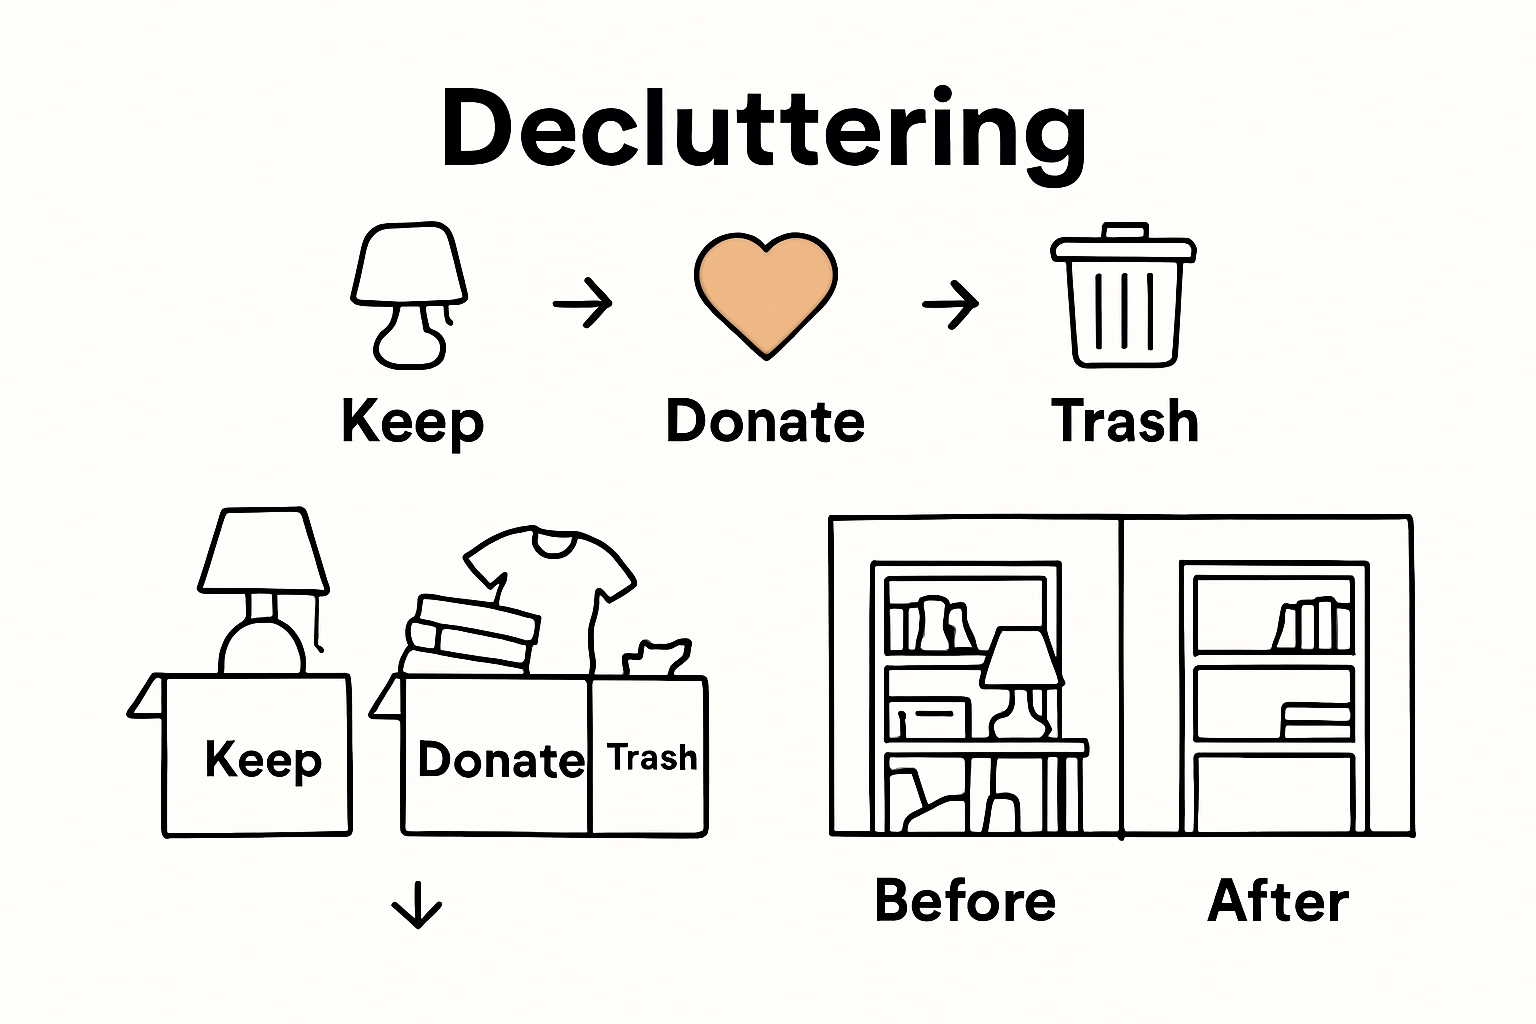
Pro tip: Adopt a one-in, one-out rule to prevent future clutter buildup. For every new item you bring into your home, commit to removing one similar item. This simple strategy helps maintain the organizational progress you have achieved and keeps your spaces streamlined and easy to clean. As you complete this step, you will have created an optimal environment for a thorough and efficient deep cleaning process.
Step 3: Sanitize High-Touch Areas First
Effective deep cleaning requires a strategic approach that prioritizes areas with the most potential for bacterial and viral transmission. Your primary focus will be on sanitizing surfaces that people frequently contact throughout their daily routines.
The Centers for Disease Control emphasizes the critical importance of systematically disinfecting high-contact surfaces to minimize infection risks. Drawing from recommendations by the City of Newport News, start by targeting key touchpoints like doorknobs, light switches, remote controls, phone screens, keyboards, refrigerator handles, and shared electronics. Use a disinfectant that kills 99.9% of germs and allow the solution to sit on surfaces for the recommended contact time to ensure maximum effectiveness.
Pro tip: Use color-coded microfiber cloths to prevent cross-contamination between different areas of your home. A white cloth for kitchen surfaces, a blue cloth for bathroom areas, and a separate cloth for living spaces will help maintain a truly thorough sanitization process. As you complete this step, you will have created a cleaner foundation for the rest of your deep cleaning journey.
Step 4: Deep Clean Floors and Carpets
Floor and carpet cleaning represents the most labor intensive part of your deep house cleaning process. Your goal is to eliminate embedded dirt, remove stubborn stains, and restore surfaces to their original shine while maintaining their integrity.
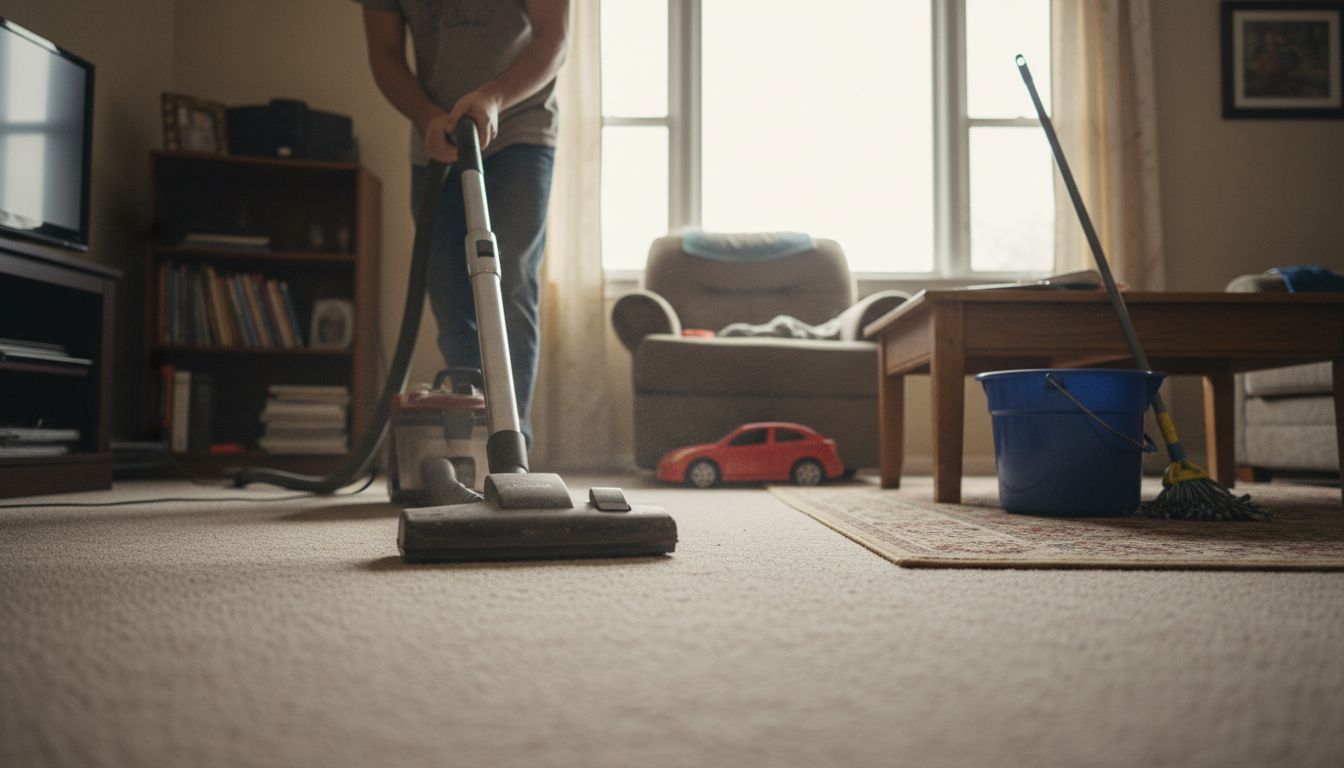
The Centers for Disease Control recommends using microfiber cleaning tools for maximum dirt and germ removal. Start by thoroughly vacuuming all carpeted areas and hard surface floors to remove loose debris. For hardwood and tile, use a damp microfiber mop with appropriate cleaning solution. When tackling carpets, consider using a specialized carpet cleaning machine or professional grade cleaning solution to extract deep seated dirt and potential allergens.
Pro tip: Always test cleaning solutions on a small hidden area first to ensure they will not damage your specific flooring type. Work systematically from one side of the room to the other, maintaining consistent cleaning pressure and overlapping your cleaning paths to prevent missing any spots. As you complete this step, you will have transformed your floors from dirty to sparkling clean.
Step 5: Detail Clean Kitchen and Bathrooms
Your kitchen and bathroom areas require meticulous attention during a deep cleaning process. These high traffic zones accumulate more bacteria and grime than any other spaces in your home and demand a systematic approach to thorough sanitization.
Utah State University recommends creating a strategic cleaning routine with specific cleaning supplies tailored for each surface. Begin by clearing countertops and removing all items. Use specialized cleaners for different surfaces like granite, stainless steel, ceramic tile, and porcelain. Pay special attention to areas around sinks, faucets, and appliance handles where bacteria tend to concentrate. In the kitchen, clean inside and outside of appliances, including refrigerator seals, oven interiors, and microwave surfaces. For bathrooms, scrub toilet bases, shower grout, mirror edges, and often overlooked areas like towel racks and light switches.
Pro tip: Work from top to bottom in each room to prevent recontaminating cleaned surfaces. Start with upper cabinets, move to countertops, then finish with floors. This methodical approach ensures you capture every speck of dirt and leave your kitchen and bathrooms sparkling clean and hygienically safe.
Step 6: Verify Results with a Final Inspection
The final inspection is your quality control moment the step that transforms a standard cleaning job into a professional grade deep cleaning experience. This critical phase ensures you have not missed any areas and that every surface meets your highest standards of cleanliness.
Drawing from professional cleaning practices, conduct a systematic walkthrough of your entire space. Start at the entrance of each room and methodically move through the area with a critical eye. Check hard to reach places like baseboards, top of door frames, behind furniture, and inside rarely used cabinets. Look for any missed dust spots, streaks on glass surfaces, or areas that might need a second pass. Compare your cleaned space against your original cleaning checklist to confirm all tasks have been completed thoroughly.
Pro tip: Use natural lighting or a bright flashlight during your final inspection to reveal dust and cleaning imperfections that might be invisible under standard room lighting. This technique helps you catch subtle details and ensures your deep cleaning meets professional grade standards of thoroughness.
Simplify Your Deep Cleaning Routine with Expert Help
If you find yourself overwhelmed by the detailed steps in the “Deep Clean House Checklist” it is normal to feel the challenge of maintaining a truly thorough and hygienic home. From organizing your cleaning supplies to sanitizing high-touch areas and deep cleaning floors you want proven strategies that save time and deliver professional results. Professional cleaning services can provide exactly that by handling each critical phase systematically so your home sparkles without the stress.
At E.C. House Cleaning we specialize in deep cleaning tailored to busy homeowners throughout Massachusetts. With over 20 years of experience and eco-friendly practices learn how our trusted team can take the heavy lifting off your shoulders. Explore our expert Cleaning Tips and understand How Often Should I Clean My Bathroom? to maintain lasting freshness between appointments. Ready to elevate your home clean? Visit E.C. House Cleaning today to schedule your free consultation and get personalized solutions that fit your needs perfectly.
Frequently Asked Questions
What essential cleaning supplies should I gather for a deep clean?
Start by collecting an all-purpose cleaner, microfiber cloths, sponges, and disinfectant wipes. Organize these items in a portable container to streamline your cleaning process and ensure you have everything you need at hand.
How do I effectively declutter my home before deep cleaning?
Use the three box method to sort items into categories: keep, donate, and trash or recycle. By focusing on one room at a time, you can quickly make decisions and create a clear space for a more manageable cleaning experience.
Which high-touch areas should I sanitize first during a deep clean?
Focus on doorknobs, light switches, and shared electronics as these surfaces have the highest potential for germs. Use a disinfectant that kills 99.9% of germs and allow it to sit for the recommended contact time to maximize effectiveness.
What steps should I take to deep clean floors and carpets?
Begin by vacuuming all floors thoroughly to remove loose dirt, then use a damp microfiber mop for hard surfaces. For carpets, consider using a specialized cleaning machine or solution to extract deep-seated dirt and allergens effectively.
How do I create a detailed cleaning routine for my kitchen and bathroom?
Clear all items from countertops and use specific cleaners for each surface type to ensure thorough sanitization. Focus on high-contact areas like sinks, faucets, and handles, and work from top to bottom to avoid recontaminating cleaned areas.
What should I include in my final inspection after deep cleaning?
Conduct a thorough walkthrough of each room, checking often-overlooked spots like baseboards and behind furniture. Use natural light or a bright flashlight to spot any areas needing additional attention, ensuring every surface meets your cleanliness standards.