
Moving out of a Massachusetts rental or stepping into a new home can feel overwhelming without the right support. Whether you want your space spotless for a smooth inspection or a fresh start, the need for a detailed deep clean is obvious. This guide shares practical steps and highlights the value of eco-friendly cleaning practices and dependable customer service for renters who care about their health, their deposit, and the environment.
Table of Contents
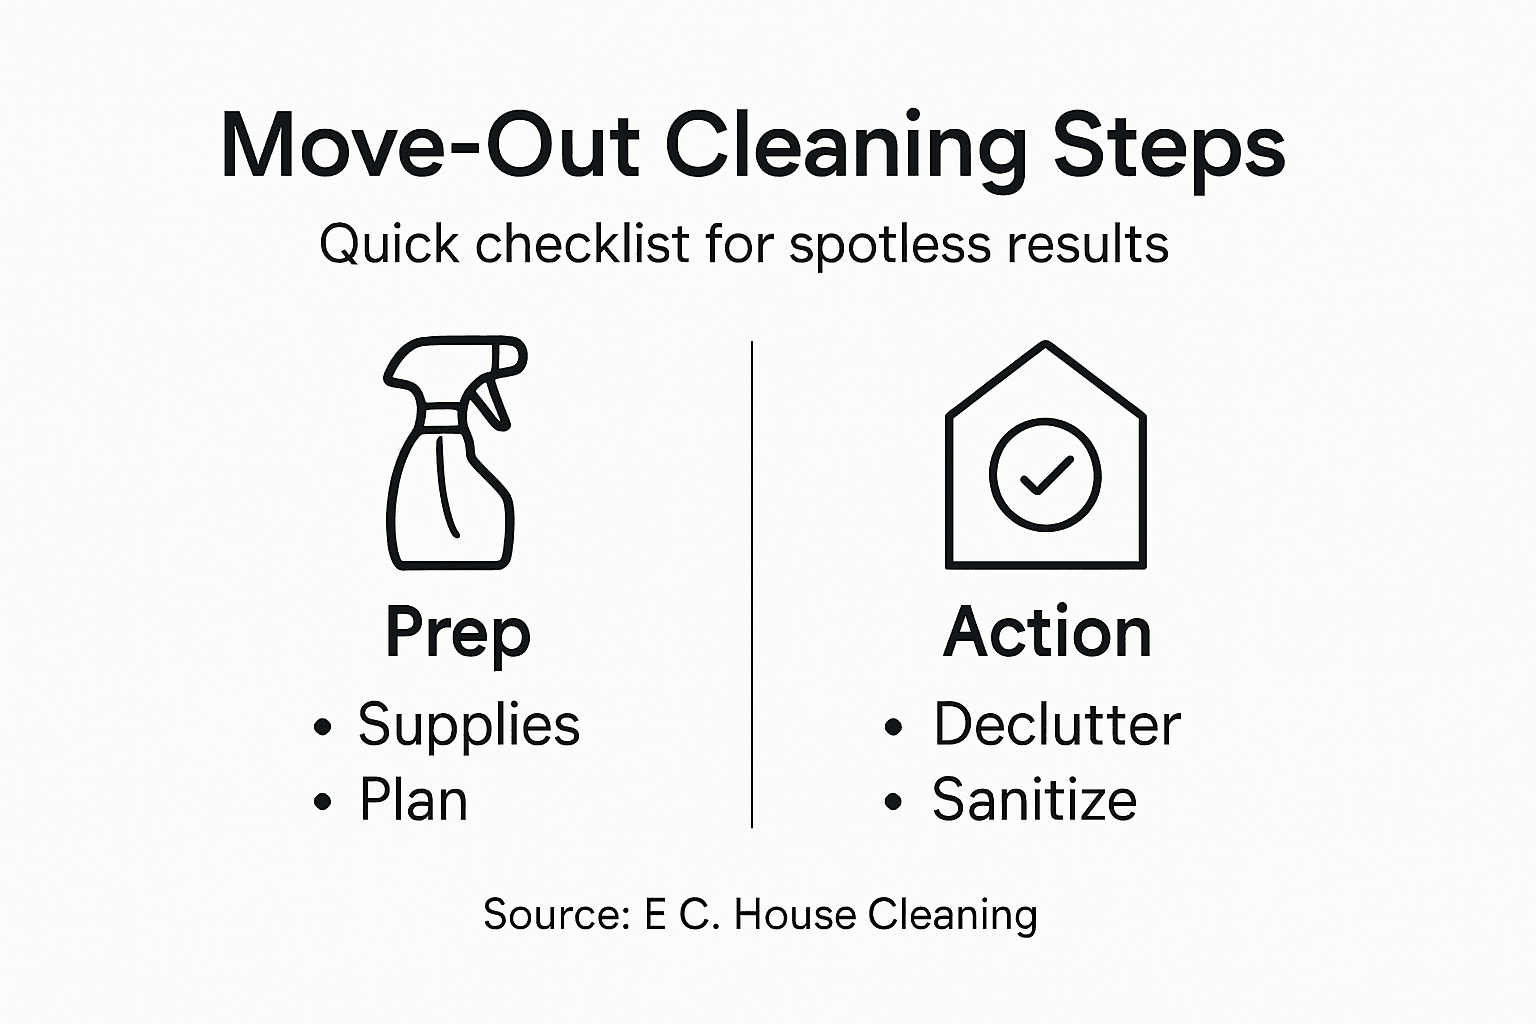
- Step 1: Gather Supplies and Set Up
- Step 2: Declutter and Remove Trash
- Step 3: Clean High-Traffic Surfaces
- Step 4: Sanitize Kitchen and Bathrooms
- Step 5: Inspect and Address Missed Areas
- Step 6: Verify Quality and Finishing Touches
Quick Summary
| Key Point | Explanation |
|---|---|
| 1. Organize Cleaning Supplies | Gather and arrange your cleaning tools in a caddy for easy access and efficiency. |
| 2. Systematic Decluttering | Remove all trash and personal items room by room to simplify cleaning and avoid fees. |
| 3. Focus on High-Traffic Areas | Regularly clean frequently touched spots to prevent buildup and ensure thorough sanitization. |
| 4. Thoroughly Sanitize Spaces | Clean and disinfect kitchen and bathroom surfaces to eliminate germs and avoid deductions. |
| 5. Conduct Final Inspections | Review all areas carefully, noting missed spots to ensure your rental meets cleanliness standards. |
Step 1: Gather Supplies and Set Up
Your move-out cleaning requires strategic preparation. Before diving into deep cleaning, assembling the right tools and supplies can make the entire process smoother and more efficient.
To get started, you’ll want to collect a comprehensive cleaning kit with essential items such as:
- Microfiber cloths for streak-free surface cleaning
- All-purpose cleaner for multiple surface types
- Glass cleaner for mirrors and windows
- Disinfectant spray for high-touch areas
- Scrub brushes with varied bristle strengths
- Protective gloves to shield your hands
- Garbage bags for collecting trash and debris
- Paper towels or disposable cleaning rags
Carefully read product labels for safe usage before mixing or applying any cleaning solutions. Different surfaces require specific care, and understanding your cleaning products prevents potential damage.
Here’s a quick reference on cleaning product safety and surface compatibility:
| Cleaning Product Type | Safe Surfaces | Key Usage Tip |
|---|---|---|
| All-purpose cleaner | Counters, tile, steel | Never use on unfinished wood |
| Glass cleaner | Windows, mirrors | Avoid spraying on plastic or wood |
| Disinfectant spray | High-touch areas | Use after removing visible dirt |
| Wood cleaner | Finished wood | Test in an inconspicuous spot first |
Organize your supplies in a portable caddy or bucket, which allows easy movement between rooms and keeps everything accessible. Group similar cleaning products together and ensure each item is sealed properly to prevent spills.
Pro tip: Create a systematic cleaning plan by laying out your supplies in the order you’ll use them, saving time and reducing unnecessary back-and-forth movement.
Step 2: Declutter and Remove Trash
Moving out requires a systematic approach to clearing out your rental space, ensuring you leave nothing behind and prevent potential charges for excessive waste or abandoned items. Reducing clutter simplifies the cleaning process and makes your final move-out inspection smoother.
Start by tackling trash removal systematically:
- Empty all trash cans completely
- Check hidden areas like closets, cabinets, and drawers
- Separate recyclables from general waste
- Break down cardboard boxes for easier disposal
- Remove all personal items including hangers, magnets, and wall decorations
Each room demands careful attention. In the kitchen, clear out expired food from refrigerators and cabinets. Bathroom areas require removing personal care products and checking under sinks. Bedrooms need thorough examination of closets and storage spaces.
Below is a summary of room-by-room focus during move-out cleaning:
| Room | Unique Cleaning Challenge | Final Checkpoint |
|---|---|---|
| Kitchen | Food spills, appliance residue | Inspect fridge, oven, cabinets |
| Bathroom | Soap scum, grime in grout | Scrub fixtures, check under sinks |
| Bedroom | Dust in closets, hidden corners | Clear shelves, check baseboards |
| Living Room | Fingerprints, pet hair | Clean switches, vacuum thoroughly |
Leaving trash or personal items can result in additional cleaning fees or deposit deductions.
If you have large items or excessive waste, consider renting a small dumpster or arranging special pickup services. Some apartment complexes offer specific guidelines for move-out trash removal.
Pro tip: Create a systematic room-by-room checklist to ensure no area gets overlooked during your decluttering process.
Step 3: Clean High-Traffic Surfaces
Clearing grime from frequently used areas is crucial for achieving a spotless rental unit. Regularly cleaning high-touch surfaces prevents buildup and ensures a thorough move-out cleaning.
Focus on these critical high-traffic zones:
- Doorknobs and light switches
- Kitchen countertops and appliance handles
- Bathroom sink and toilet areas
- Stair railings and banisters
- Entryway floors and baseboards
Use a systematic approach for each surface type. Start by removing loose dirt with a microfiber cloth, then apply an appropriate cleaning solution. For hard surfaces like countertops and tables, use an all-purpose cleaner that won’t damage the material. Wooden surfaces might require specialized wood cleaners to prevent damage.
Cleaning before disinfecting removes dirt that can interfere with sanitization effectiveness.
Pay extra attention to areas like refrigerator handles, cabinet knobs, and other spots frequently touched during daily living. These areas accumulate the most grime and can significantly impact your overall cleaning assessment.
Pro tip: Work from top to bottom in each room to prevent re-contaminating cleaned surfaces and maximize your cleaning efficiency.
Step 4: Sanitize Kitchen and Bathrooms
Making your rental’s most critical areas sparkling clean requires a strategic and thorough approach. Cleaning and disinfecting surfaces eliminates germs and residues that could potentially cost you part of your security deposit.
Focus on these essential sanitization tasks:
- Scrub kitchen sink thoroughly
- Disinfect toilet and bathroom fixtures
- Clean inside refrigerator and oven
- Wipe down countertops and backsplashes
- Sanitize handles, knobs, and switches
Start with a top-to-bottom cleaning method. In the kitchen, use specialized cleaners for different surfaces. Stainless steel appliances require different treatment than ceramic cooktops. For refrigerators, a mixture of baking soda and warm water can effectively remove stubborn stains and odors.
Thorough cleaning involves removing visible dirt before applying disinfectant for maximum effectiveness.
Bathroom sanitization demands extra attention. Grout lines, shower doors, and toilet areas need meticulous scrubbing. Use appropriate cleaning solutions for each surface type, ensuring you’re not just moving dirt around but truly removing it.
Pro tip: Keep a designated microfiber cloth for each surface type to prevent cross-contamination and achieve a more hygienic clean.
Step 5: Inspect and Address Missed Areas
Your final move-out cleaning requires a methodical and comprehensive review of every corner of your rental unit. Schedule a pre-move-out inspection to identify and address any overlooked cleaning zones before your final walkthrough.
Use this systematic checklist to catch missed spots:
- Check inside kitchen cabinets
- Inspect window tracks and sills
- Review baseboards and corners
- Examine light fixtures and ceiling fans
- Look behind large appliances
- Inspect closet shelves and floors
- Check wall corners for cobwebs
Move methodically through each room. Start at the ceiling and work your way down, using a bright flashlight to illuminate potential problem areas. Pay special attention to spaces typically hidden from immediate view, such as behind the refrigerator, inside kitchen drawers, and underneath bathroom sinks.
Even small overlooked areas can potentially result in cleaning fees or security deposit deductions.
If possible, have a friend or family member perform a second inspection. A fresh set of eyes can often spot dirt or grime you might have missed during your initial cleaning.
Pro tip: Take smartphone photos of each cleaned area as documentation, which can help prove your thorough cleaning efforts during the final walkthrough.
Step 6: Verify Quality and Finishing Touches
The final stage of your move-out cleaning requires a meticulous review to ensure every detail meets professional standards. Verify cleaning quality through comprehensive walkthrough to guarantee a successful rental unit inspection.
Complete these critical finishing tasks:
- Polish wooden surfaces
- Replace burned-out light bulbs
- Check for lingering odors
- Wipe down switch plates and outlets
- Ensure all surfaces are streak-free
- Vacuum or sweep floors one final time
- Remove any remaining cleaning supplies
Walk through each room systematically, using bright lighting to highlight potential missed spots. Pay attention to details like fingerprints on light switches, dust on baseboards, and smudges on glass surfaces. Consider using a white cloth to help identify any remaining dirt or residue.
Small details can make the difference between a full security deposit return and unexpected cleaning fees.
If possible, ask a neutral third party to perform a final inspection. Sometimes a fresh perspective can catch issues you might have overlooked during your cleaning process.
Pro tip: Take well-lit photographs of each cleaned area as documentation to protect yourself in case of any future disputes about the unit’s condition.
Achieve a Spotless Move-Out with Professional Help
Moving out can be overwhelming when deep cleaning every corner and sanitizing high-traffic surfaces feels like a daunting task. The challenges of removing hidden dirt, scrubbing kitchen and bathroom areas thoroughly, and inspecting missed spots demand time and expertise. Key concerns like avoiding security deposit deductions and preventing unexpected cleaning fees are on every renter’s mind. Taking charge of these tasks often leads to stress and uncertainty about meeting rental standards.
Turn your move-out cleaning stress into success by partnering with experts who understand your needs. At E.C. House Cleaning, we specialize in detailed Residential Cleaning tailored for renters ready to leave their space spotless. Our family-owned team uses eco-friendly products and proven methods to tackle every surface from kitchen sinks to baseboards, ensuring you impress your landlord and secure your deposit.
Don’t let the complexity of move-out deep cleaning hold you back. Book a free consultation today at E.C. House Cleaning and get a personalized quote designed to fit your schedule and budget. Discover the peace of mind that comes with professional quality and experience more than 20 years of trusted service across Massachusetts with Massachusetts Residential House Cleaning. Your spotless move-out starts here.
Frequently Asked Questions
How can I effectively gather cleaning supplies for move-out cleaning?
Gather essential cleaning supplies like microfiber cloths, all-purpose cleaner, and disinfectant spray. Organize these items in a portable caddy or bucket to easily move between rooms and streamline your cleaning process.
What areas should I focus on during move-out cleaning?
Concentrate on high-traffic areas such as kitchen countertops, bathroom fixtures, and entryway floors. Thoroughly inspect and clean these surfaces to ensure a spotless finish, as they often accumulate the most grime.
How do I ensure I don’t overlook any cleaning areas before moving out?
Perform a systematic room-by-room inspection to check for overlooked spots like behind large appliances and inside cabinets. Create a detailed checklist to guide your cleaning process and ensure every area is accounted for.
What are effective methods for sanitizing kitchens and bathrooms?
Use appropriate cleaning solutions to scrub sinks, countertops, and bathroom fixtures thoroughly. Focus on high-touch areas like handles and knobs, and remember to clean surfaces before applying disinfectant for optimal effectiveness.
How can I verify the quality of my cleaning before the final inspection?
Conduct a meticulous walkthrough of your rental unit, using bright lighting to highlight any missed spots. Check for details such as smudges on glass and dust on baseboards to ensure everything meets professional cleaning standards.
What should I do if I find additional dirt or issues during my final walkthrough?
Address any newly discovered issues immediately by cleaning the areas again, focusing on the specific spots that require attention. Consider taking well-lit photographs of your cleaned areas as documentation to protect yourself in case of disputes regarding the apartment’s condition.