TL;DR:
- Effective hygienic cleaning involves removing debris, scrubbing with detergent, and applying disinfectant with proper contact time. Using the correct method for each surface and maintaining routines with color-coded cloths prevents contamination and reduces health risks. Consistency in cleaning practices and adherence to guidelines ensure surfaces are truly sanitized and safe.
Hygienic cleaning is defined as the systematic removal of contaminants from surfaces, fabrics, and hands to reduce harmful microorganisms to safe levels. The process combines mechanical action using soap or detergent with sanitizing or disinfecting steps to address both visible soils and invisible pathogens. To explain hygienic cleaning practices fully, you need to understand three distinct actions: cleaning, sanitizing, and disinfecting. Each serves a different purpose, and skipping any one of them leaves gaps in your protection. Public health guidance from the CDC and standards like BS EN 1276 reinforce that no single product or step alone achieves true hygiene.
What are the stages of effective hygienic cleaning?
Effective hygienic cleaning follows a multi-stage process, and each stage builds on the one before it. Skipping any stage reduces the effectiveness of every step that follows. The sequence is not optional. It is the foundation of any hygiene cleaning guideline worth following.
Remove loose debris. Scrape, sweep, or wipe away food particles, dust, or visible waste before applying any product. Applying detergent to a heavily soiled surface dilutes its effectiveness immediately.
Clean with detergent and mechanical action. Apply soap or detergent with a cloth, brush, or sponge and scrub the surface thoroughly. Detergents lift soil and grease but do not kill bacteria. Their job is to physically remove the protective biofilm that shields pathogens from chemical attack.
Rinse the surface. Remove detergent residue with clean water. Residue left behind can neutralize the disinfectant applied in the next step.
Apply disinfectant and allow dwell time. Spray or wipe the disinfectant and let the surface stay visibly wet for the full contact period. Contact times range from 30 seconds to 5 minutes depending on the product and target pathogen. Wiping too soon leaves live pathogens behind.
Allow to air dry or dry with a clean cloth. Wet surfaces after cleaning can reintroduce contamination if touched with a dirty cloth.
Pro Tip: Read the product label before you start. Contact time is printed there for a reason. Set a phone timer so you do not wipe the disinfectant off too early.
The most common failure in this process is rushing stage four. People spray a disinfectant and wipe it off within seconds. That behavior provides the appearance of hygiene without the microbiological result.
How do cleaning, sanitizing, and disinfecting differ?
These three terms are not interchangeable. Public health guidance separates them by risk level, surface type, and intended outcome. Using the wrong method for the situation wastes time and leaves your space less safe than you think.
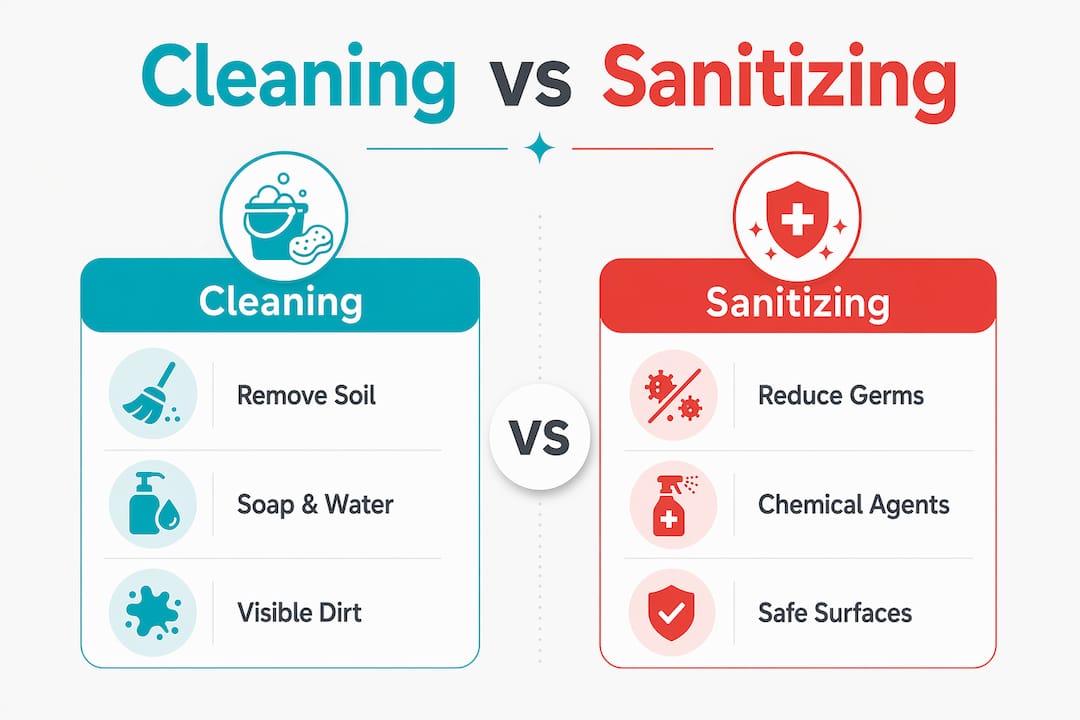
| Method | What it does | When to use it |
|---|---|---|
| Cleaning | Removes visible soil, dirt, and organic matter with soap and water | Routine daily tidying, low-risk surfaces |
| Sanitizing | Reduces bacteria to safe levels on surfaces | Food-contact surfaces, kitchen counters, cutting boards |
| Disinfecting | Kills a broader range of pathogens including viruses and fungi | High-touch surfaces, bathrooms, post-illness environments |
Cleaning is always the first step. You cannot sanitize or disinfect a dirty surface effectively. Detergents do not kill microbes. They expose pathogens by removing the organic matter that protects them. Sanitizers and disinfectants then do the killing.
The practical rule is straightforward:
- Use cleaning alone for low-risk areas with no illness present, such as a living room floor or a bedroom shelf.
- Use sanitizing on food-contact surfaces after every use, including cutting boards, countertops, and prep areas.
- Use disinfecting on high-touch surfaces daily, and on any surface exposed to illness, blood, or bodily fluids.
Choosing the right level for the right surface is one of the most overlooked best practices for cleaning. Over-disinfecting wastes product and can contribute to surface degradation. Under-disinfecting leaves real health risks unaddressed.
What are the best practices for high-touch and food-contact surfaces?
High-touch surfaces are the highest-risk points in any home or workplace. Doorknobs, light switches, and bathroom fixtures require at least daily cleaning and disinfection, with frequency increasing during illness or heavy use. These surfaces transfer pathogens hand-to-hand dozens of times a day without anyone noticing.
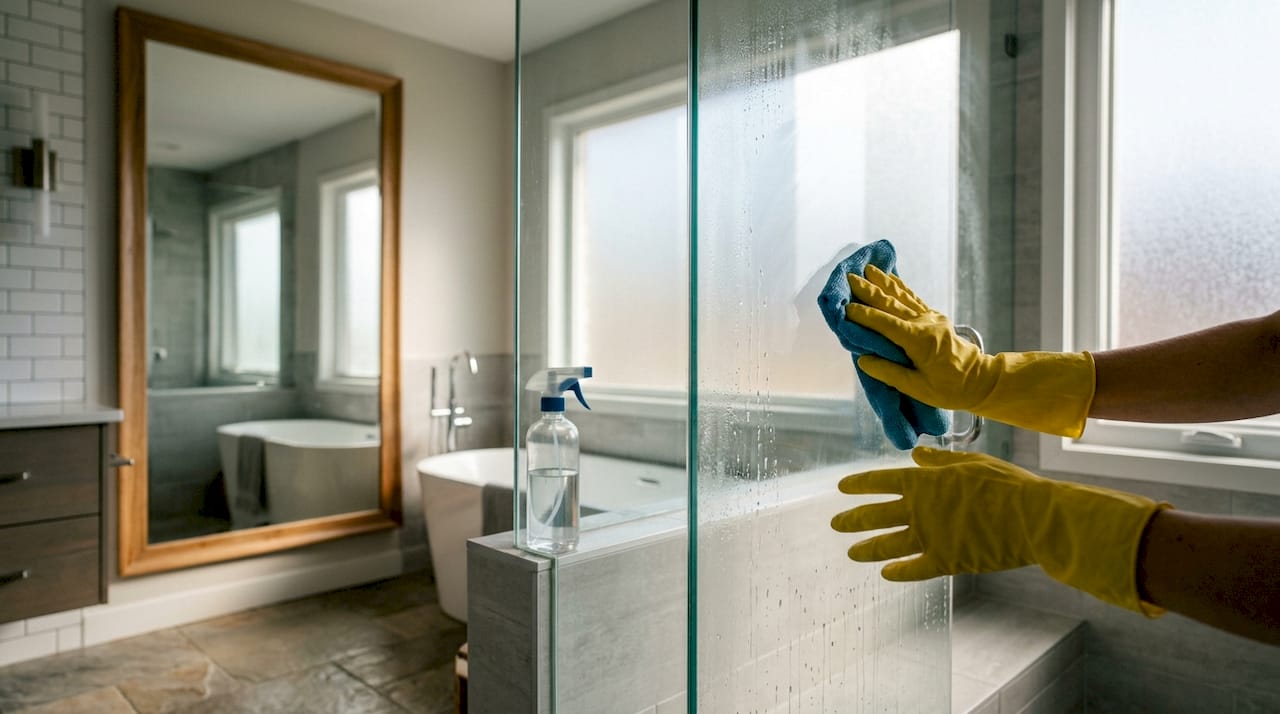
For food-contact surfaces, the stakes are even higher. Raw meat, produce, and ready-to-eat foods all cross the same countertop in most kitchens. The correct sequence is: clean with detergent, rinse, apply sanitizer, maintain wet contact time, and allow to air dry. Proper drying prevents recontamination from a damp surface picking up new bacteria.
Cross-contamination is the silent problem in most cleaning routines. Using the same cloth to wipe the toilet and then the sink spreads pathogens rather than removing them. Color-coded cloths and changing cloths between rooms are standard procedure in professional cleaning and should be standard at home too. Assign one color to bathrooms, one to kitchens, and one to general surfaces.
A practical checklist for high-touch surfaces:
- Disinfect doorknobs, handles, and light switches daily.
- Sanitize kitchen counters and cutting boards after every food prep session.
- Clean bathroom fixtures daily and disinfect after any illness in the household.
- Replace or launder cleaning cloths after each room to prevent cross-contamination.
- Cover the full surface area when applying disinfectant. Missed spots are where pathogens survive.
Pro Tip: Use a cleaning caddy stocked with color-coded cloths, your detergent, and your disinfectant. Work top-to-bottom and left-to-right so you never re-soil a surface you already cleaned.
Visible cleanliness does not guarantee sanitation. Hidden niches like undersides of shelves, fridge door seals, and the backs of faucet handles retain biofilm even after a surface looks spotless. Effective cleaning targets those spots deliberately.
How can you maintain hygienic cleaning routines at home or work?
Consistency beats intensity every time. Consistent daily habits reduce the need for deep cleaning and prevent the buildup of soils that make disinfection harder. A 10-minute daily routine protects your space better than a two-hour monthly scrub.
Follow this sequence to build a routine that holds:
Set up a cleaning caddy. Keep your detergent, disinfectant, color-coded cloths, and gloves in one portable container. Carrying everything with you eliminates wasted trips and keeps the process moving. The American Cleaning Institute recommends this approach for time-pressed households.
Create a written schedule. Assign specific tasks to specific days. Bathrooms on monday, kitchen deep clean on wednesday, floors on friday. A documented schedule removes the guesswork and prevents tasks from falling through the cracks.
Follow a top-to-bottom sequence. Start at ceiling level, dusting light fixtures and shelves, and work downward to floors. Dust and debris fall. Cleaning from the bottom up means re-soiling what you already cleaned.
Work room by room. Finish one room completely before moving to the next. Jumping between rooms wastes time and increases the risk of spreading contamination between areas.
Practice hand hygiene before and after cleaning. Wash hands with soap and water for at least 20 seconds before handling cleaning products and again after finishing. Gloves protect your skin but do not replace handwashing.
Use a weekly cleaning guide to track tasks. A structured checklist keeps your routine complete and prevents the common mistake of cleaning only what looks dirty.
Organizing your supplies is not a minor detail. Setting up a cleaning caddy and following a room-by-room approach prevents wasted effort and reduces the need for frequent deep cleans. The time you spend organizing before you start pays back every single session.
Key takeaways
Hygienic cleaning requires a staged process of debris removal, detergent scrubbing, and properly timed disinfection to reduce pathogens to safe levels on surfaces.
| Point | Details |
|---|---|
| Follow the four stages | Remove debris, clean with detergent, rinse, then apply disinfectant with full contact time. |
| Never skip contact time | Disinfectants need 30 seconds to 5 minutes of wet surface contact to kill pathogens effectively. |
| Match the method to the risk | Clean for low-risk areas, sanitize food surfaces, and disinfect high-touch or post-illness zones. |
| Use color-coded cloths | Assign separate cloths to bathrooms, kitchens, and general areas to prevent cross-contamination. |
| Consistency beats intensity | Daily short routines prevent buildup and reduce the need for time-consuming deep cleans. |
What most people get wrong about hygiene cleaning
The biggest mistake I see is treating visual cleanliness as the finish line. A surface can look spotless and still carry a biofilm layer loaded with bacteria. That gap between appearance and microbiological reality is where most household illness transmission happens.
The second mistake is ignoring contact time. People spray a disinfectant and wipe it off in five seconds. That is not disinfection. That is theater. The label on every EPA-registered disinfectant lists a required dwell time for a reason. Following it is not optional if you want the product to work.
What I have found actually works is building the routine around your supplies, not the other way around. When your caddy is stocked, your cloths are color-coded, and your schedule is written down, cleaning becomes a habit rather than a project. The professional tips from trained cleaners I have seen applied consistently confirm this. Organized process beats motivated effort every time.
The last thing most people miss is hand hygiene as part of the cleaning routine itself. Washing your hands before and after cleaning is not redundant. It prevents you from contaminating surfaces you just cleaned and protects you from the pathogens you just removed.
Professional cleaning that meets real hygiene standards
Maintaining a genuinely hygienic home or workplace takes more than good intentions. It takes trained technique, the right products, and consistent execution.
EC House Cleaning brings over 20 years of experience to residential and commercial cleaning in Massachusetts. Every service follows a multi-stage cleaning process: debris removal, detergent scrubbing, and properly timed disinfection on high-touch and food-contact surfaces. The team uses color-coded cloths and top-to-bottom sequences on every job. Whether you need residential cleaning services for your home or cleaning support for your small business, EC House Cleaning delivers hygiene you can trust. Book a free consultation or get a personalized quote directly on the website.
FAQ
What does hygienic cleaning mean?
Hygienic cleaning means removing contaminants from surfaces through mechanical action with soap or detergent, followed by sanitizing or disinfecting to reduce pathogens to safe levels. It goes beyond making a surface look clean.
Why must you clean before disinfecting?
Detergents remove the organic matter and biofilm that shield bacteria from chemical attack. Applying disinfectant to a dirty surface reduces its effectiveness because the soil absorbs and neutralizes the active ingredient.
How long should disinfectant stay on a surface?
Disinfectant contact times range from 30 seconds to 5 minutes depending on the product and target pathogen. The surface must stay visibly wet for the full duration listed on the product label.
What are high-touch surfaces and how often should they be cleaned?
High-touch surfaces include doorknobs, light switches, faucet handles, and bathroom fixtures. These surfaces require at least daily cleaning and disinfection, with more frequent attention during illness or heavy use.
How do color-coded cloths prevent cross-contamination?
Color-coded cloths assign specific colors to specific areas, such as red for bathrooms and blue for kitchens, so the same cloth never touches two different zones. This prevents pathogens from one area from spreading to another during routine cleaning.
Recommended
- Eco-Friendly Cleaning Methods – Why Healthier Homes Matter | E.C. House Cleaning
- Detailed cleaning for healthier Massachusetts homes | E.C. House Cleaning
- 7 Essential Cleaning Best Practices 2025 for Busy Clients | E.C. House Cleaning
- How cleaners ensure quality: standards for a healthier home | E.C. House Cleaning